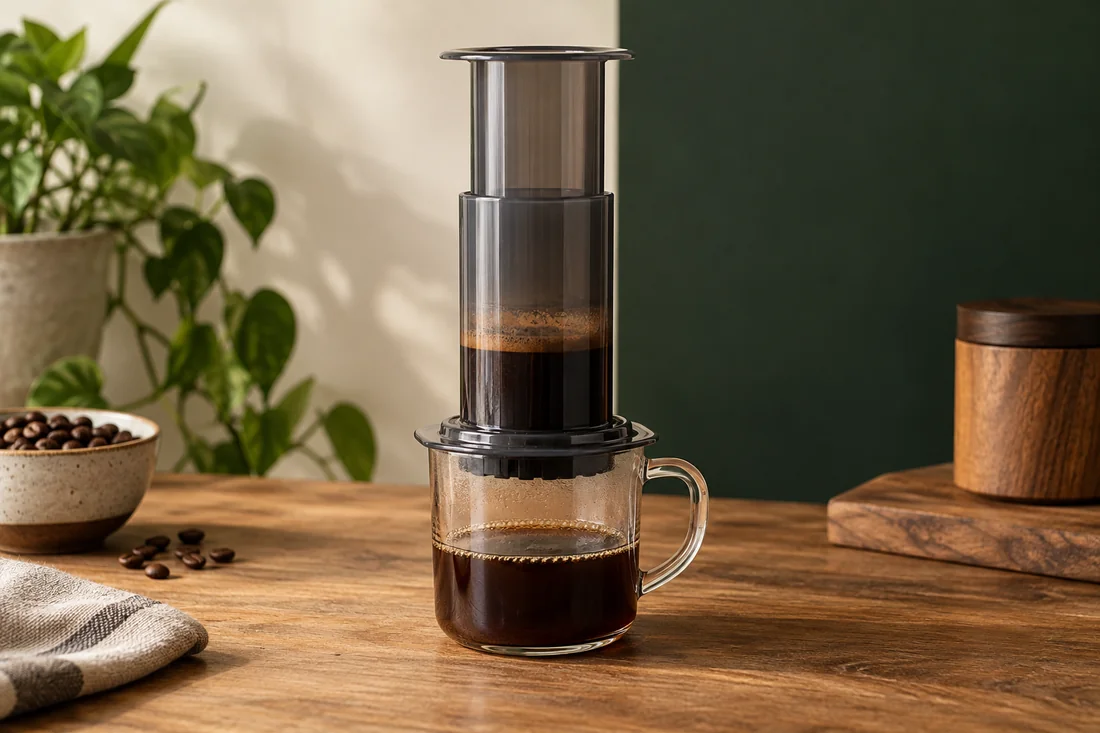
The guide · Pressure by hand

Classic AeroPress

Upright on a stable mug: steep briefly, press slowly.

Recipe, techniques and troubleshooting. All on one page.

Pressure by hand – illustrative image

Your starting recipe

Your cup starts here.

A starting point for your beans and your taste.

Coffee
15 g
Brewing water
200 g
Grind setting
medium-fine
Steeping time
Approx. 1 min before pressing

Quantities adjust in the steps too. Do not simply scale brewing time and grind; observe equipment size.

What you need

Have these ready.

Tick off what is ready. You can start at any time.

Now it is time to make coffee

How it works.
Step by step.

Get an overview first. Then work through each action at your own pace.

Coffee
15 g
Brewing water
200 g
Stopwatch00:00

The stopwatch starts only when you tap Start. It continues counting across page changes if your browser allows storage. No alarm.

Filter montieren – illustrative Aufnahme
Is the paper fully seated in the cap?
Understand the technique

Is the paper fully seated in the cap?

Classic AeroPress: Fit the filter – illustrated techniquePlace the specified filter paper in the filter cap and attach it correctly to the brewing cylinder.ACorrectly seated

A · What to observePaper lies flat; the filter cap is correctly secured.

Check the fit
100 %

You start the motion. A shortened illustration, not a brewing timer.

01

Step 1 of 5

Fit the filter

Place the specified filter paper in the filter cap and attach it correctly to the brewing cylinder.

Understand the technique

Is the AeroPress supported securely?

Classic AeroPress: Place upright and pour – illustrated techniquePlace the cylinder on the stable cup. Add the coffee and carefully pour in the weighed amount of water.AStable setup

A · What to observeThe cylinder stands upright and fully supported by a stable cup.

Pour carefully
100 %

You start the motion. A shortened illustration, not a brewing timer.

02

Step 2 of 5

Place upright and pour

Place the cylinder on the stable cup. Add the coffee and carefully pour in the weighed amount of water.

Help with this step

Your model’s fill limit takes priority over the recipe.

Understand the technique

Is dry powder hidden inside?

Classic AeroPress: Stir briefly and allow to steep – illustrated techniqueStir briefly to wet any dry grounds. Leave the mixture to steep for your chosen time.AWet inside

A · What to observeA few stirring movements wet the powder before steeping.

Allow to steep
100 %

You start the motion. A shortened illustration, not a brewing timer.

03

Step 3 of 5

Stir briefly and allow to steep

Stir briefly to wet any dry grounds. Leave the mixture to steep for your chosen time.

Understand the technique

Does pressure remain gentle and straight?

Classic AeroPress: Press slowly – illustrated techniqueInsert the plunger straight and press slowly with gentle, even pressure. If resistance is strong, do not press harder.AStraight and slow

A · What to observeThe plunger moves slowly without tilting.

Stop if you feel resistance
100 %

You start the motion. A shortened illustration, not a brewing timer.

04

Step 4 of 5

Press slowly

Insert the plunger straight and press slowly with gentle, even pressure. If resistance is strong, do not press harder.

Help with this step

Stop if resistance is strong and check the assembly.

Understand the technique

Did you taste before diluting?

Classic AeroPress: Taste and dilute if desired – illustrated techniqueStir the finished coffee. Taste it and, if desired, add hot water in portions.ATaste first

A · What to observeMix and taste first; add water in portions if needed.

Dilute if desired
100 %

You start the motion. A shortened illustration, not a brewing timer.

05

Step 5 of 5

Taste and dilute if desired

Stir the finished coffee. Taste it and, if desired, add hot water in portions.

Help with this step

Additional water separate from the 200 g Note brewing water.

Schematic movement and illustrative AI images. Animations shorten the action; follow the quantities, wait times and safety guidance in the text.

If the flavour is not quite rounded yet

One change.
A new attempt.

Pressing is difficult

Check grind size, filter, assembly and fill level; do not apply extra force.

Rounded but too intense

First dilute the finished coffee with warm water a portion at a time.

Why it works

The details behind the recipe.

What the AeroPress can do

With the AeroPress, coffee first steeps in water; you then use a plunger to push the drink through a filter. Paper retains fine grounds. The method also works for a concentrated brew that you dilute afterwards. It does not produce classic portafilter espresso: a hand press and an espresso machine operate under different brewing conditions.

Safe setup

The classic method stands upright on a stable, suitable cup. Check the manufacturer's approvals for the vessel and model. Thin or damaged glass, or an unstable surface, is not a suitable base for pressing. Inverted recipes, which involve turning the hot device over later, are unnecessary for this introduction.

As a starting point of your own: 15 grams of medium-fine ground coffee, 200 grams of hot water and around one minute of contact time before pressing. Use only a quantity that stays below your model's fill limit. Compare it with the instructions for your specific AeroPress model if needed.

Step by step
  1. Place the specified filter paper in the filter cap and attach it correctly to the brewing cylinder.
  2. Place the cylinder on the stable cup. Add the coffee and carefully pour in the weighed amount of water.
  3. Stir briefly to wet any dry grounds. Leave the mixture to steep for your chosen time.
  4. Insert the plunger straight and press slowly with gentle, even pressure. If resistance is strong, do not press harder.
  5. Stir the finished coffee. Taste it and, if desired, add hot water in portions.
Separate flavour and dilution

If your coffee tastes rounded but too intense, adding water to the finished cup is the direct approach. This changes the concentration without rebuilding the entire brewing recipe. If it tastes both thin and sharp, however, extra water probably will not solve the underlying problem. Try a comparison with slightly finer grounds or a longer steep instead.

Record water added for dilution separately from brewing water. Otherwise, a lucky result will not become a repeatable recipe. For example: pouring in 200 grams and adding 40 grams afterwards are two different steps, not simply a 240-gram pour.

If pressing is difficult

Check the grind, fill quantity, correct filter and assembly. Very fine grounds can create considerable resistance. Do not try to overcome a blocked brewer with your body weight. Release the pressure and follow the manufacturer's instructions for safe handling. Hot coffee belongs in the cup, not on your hands.

On the road and afterwards

For travel, a few pre-portioned beans and matching paper filters are practical. A sturdy cup matters more than the last gram of luggage. Let the brewer and its contents cool sufficiently before taking it apart. Dispose of the puck and clean the parts according to the instructions. Packed dry, the brewer will make a much nicer start to the next morning.

Frequently asked

Another question?

Is this espresso?

It can be an intense little coffee, but not espresso made under the conditions of a portafilter machine.

Do I need to press particularly hard?

No. Gentle pressure is enough; stop if resistance is strong and check the cause.

Sources & further reading

Related to this topic

Record steeping time and dilution

Record steeping time and brewing water for the next batch. Note any added water separately so you can repeat the serving strength.

AeroPress-Versuch notieren ↗

Your coffee helper

Coffee Bro.

I help you brew, find coffee knowledge and show you what is on the menu. Your questions stay here in your browser.

Local content & guided help · no connected language model