The guide · Moka

Moka pot

The fill limit, a loose coffee bed and moderate heat determine a safe process.

Recipe, techniques and troubleshooting. All on one page.

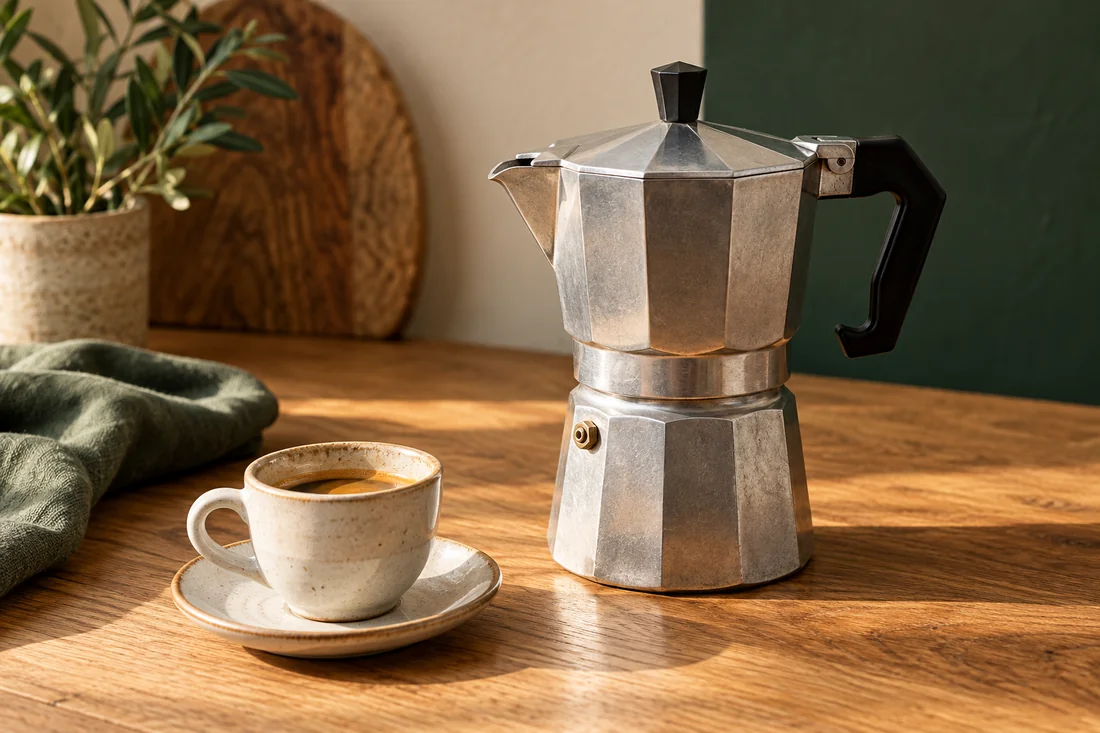
Moka — illustrative image

Your starting recipe

Your cup starts here.

A starting point for your beans and your taste.

Water
to below the valve
Coffee
Fill the funnel loosely
Compact
do not tamp
Heat
moderate

What you need

Have these ready.

Tick off what is ready. You can start at any time.

Now it is time to make coffee

How it works.
Step by step.

Get an overview first. Then work through each action at your own pace.

Water
to below the valve
Coffee
Fill the funnel loosely
Stopwatch00:00

The stopwatch starts only when you tap Start. It continues counting across page changes if your browser allows storage. No alarm.

Wasser unter das Ventil füllen – illustrative Aufnahme
Is the safety valve clear?
Understand the technique

Is the safety valve clear?

Moka pot: Fill water below the valve – illustrated techniqueFill the lower chamber with the specified amount of cold water up to the bottom edge of the safety valve. The valve must not be covered.AValve stays clear

A · What to observeWater stays below the valve; the lower chamber is open.

Keep the valve clear
100 %

You start the motion. A shortened illustration, not a brewing timer.

01

Step 1 of 5

Fill water below the valve

Fill the lower chamber with the specified amount of cold water up to the bottom edge of the safety valve. The valve must not be covered.

Help with this step

The safety valve must not be covered.

Understand the technique

Do the grounds remain loose?

Moka pot: Fill the funnel loosely – illustrated techniqueInsert the funnel and loosely fill it with suitably ground coffee. Do not tamp. Remove grounds from the seal and screw-thread areas.ALoose, no pressure

A · What to observeThe funnel is loosely filled; seal and threads stay clean.

Do not tamp
100 %

You start the motion. A shortened illustration, not a brewing timer.

02

Step 2 of 5

Fill the funnel loosely

Insert the funnel and loosely fill it with suitably ground coffee. Do not tamp. Remove grounds from the seal and screw-thread areas.

Help with this step

Do not tamp; remove grounds from the sealing rim.

Understand the technique

Are the parts screwed together straight?

Moka pot: Screw the vessel together securely – illustrated techniqueScrew the parts together securely without using the handle as a lever.ACorrectly seated

A · What to observeThreads align; the handle is not used as a lever.

Do not use the handle as a lever
100 %

You start the motion. A shortened illustration, not a brewing timer.

03

Step 3 of 5

Screw the vessel together securely

Screw the parts together securely without using the handle as a lever.

Understand the technique

Does heat stay beneath the base?

Moka pot: Brew over moderate heat – illustrated techniquePlace the pot on a suitable heat source. Gas flames must not extend up the sides beyond the base; do not use unnecessarily high heat.AHeat below base

A · What to observeModerate heat; a gas flame does not rise up the sides.

Observe the brew
100 %

You start the motion. A shortened illustration, not a brewing timer.

04

Step 4 of 5

Brew over moderate heat

Place the pot on a suitable heat source. Gas flames must not extend up the sides beyond the base; do not use unnecessarily high heat.

Understand the technique

Has the pot cooled before opening?

Moka pot: Remove from the heat and let cool – illustrated techniqueOnce brewing is complete, remove the pot from the heat and serve carefully. Let it cool completely before opening it.AWait for cooling

A · What to observeThe heat source is removed; the pot remains closed while cooling.

Let cool before opening
100 %

You start the motion. A shortened illustration, not a brewing timer.

05

Step 5 of 5

Remove from the heat and let cool

Once brewing is complete, remove the pot from the heat and serve carefully. Let it cool completely before opening it.

Help with this step

Never open or refill a hot pressure vessel.

Schematic movement and illustrative AI images. Animations shorten the action; follow the quantities, wait times and safety guidance in the text.

If the flavour is not quite rounded yet

One change.
A new attempt.

Bitter or burnt

Reduce the heat and do not leave the finished pot on the hob.

Leak or unusual valve behaviour

Turn off the heat, allow to cool completely and check the seal, filter and valve according to the instructions.

Why it works

The details behind the recipe.

A method of its own

The stovetop brewer, also called a moka pot, makes concentrated coffee. It does not produce espresso under the brewing conditions of a portafilter machine. Pot size, water level and the filled funnel are designed to work together. Follow the instructions for your model. Arbitrarily half-filling or firmly tamping the coffee are not suitable ways to adjust strength.

Check beforehand

Check the seal, filter and valve according to the manufacturer's instructions. Do not continue brewing if there is damage, blockage or leakage. The heat source must also be suitable: not every aluminium pot works on induction. Only use adapters or alternative hob types if they are intended for your model.

The following key points follow the Bialetti Moka Express instructions: water below the safety valve, grounds suitable for a moka pot, no tamping and no maximum heat. Other devices require their own instructions. Never open or refill a hot pressurised vessel.

Step by step
  1. Fill the lower chamber with the specified amount of cold water up to the bottom edge of the safety valve. The valve must not be covered.
  2. Insert the funnel and loosely fill it with suitably ground coffee. Do not tamp. Remove grounds from the seal and screw-thread areas.
  3. Screw the parts together securely without using the handle as a lever.
  4. Place the pot on a suitable heat source. Gas flames must not extend up the sides beyond the base; do not use unnecessarily high heat.
  5. Once brewing is complete, remove the pot from the heat and serve carefully. Let it cool completely before opening it.
Improve the flavour

If the coffee is unpleasantly bitter, first look at the heat and how long the finished pot stays on the hob. A brew that is already finished will not improve while you quickly set the breakfast table. Prepare cups and trivets beforehand.

The grounds matter too. Espresso grounds are not automatically suitable for a Moka. Grounds that are too fine, or compacted, increase resistance. Use an explicitly suitable grind size. The appliance's safe operating range takes priority over an online trick.

Adjust intensity after brewing

If the coffee tastes good but is too strong for you, add a little hot water to your cup. Diluting it afterwards does not change the pot's fill level or pressure conditions. Note the amount of water if you want to repeat the result. You can also use the coffee as an intense base for a milk drink without having to call it espresso.

Care without myths

An old film of coffee is no essential seasoning. Clean according to the instructions for your model and let all parts dry thoroughly. Bialetti provides specific care instructions for the classic aluminium Moka; do not simply apply a stainless steel model's dishwasher routine to it. Replacement seals and filters must fit the appliance. If the valve behaves unusually or liquid leaks from the joint, turn off the heat and check only once it has cooled completely.

Frequently asked

Another question?

May I tamp the grounds?

No. The Moka instructions described here call for loosely filling the basket.

Can I half-fill the filter for a small cup?

Use a suitable pot size or expressly specified accessories. Fill requirements are part of how the equipment works.

Sources & further reading

Related to this topic

Watch water level and heat

Review the steps before your next moka brew. Check water level, loosely filled grounds and suitable heat.

Moka-Ablauf nachlesen ↗

Your coffee helper

Coffee Bro.

I help you brew, find coffee knowledge and show you what is on the menu. Your questions stay here in your browser.

Local content & guided help · no connected language model