The guide · On the go

Coffee on the go

Test the entire travel kit at home once, with actual water and cleaning.

Recipe, techniques and troubleshooting. All on one page.

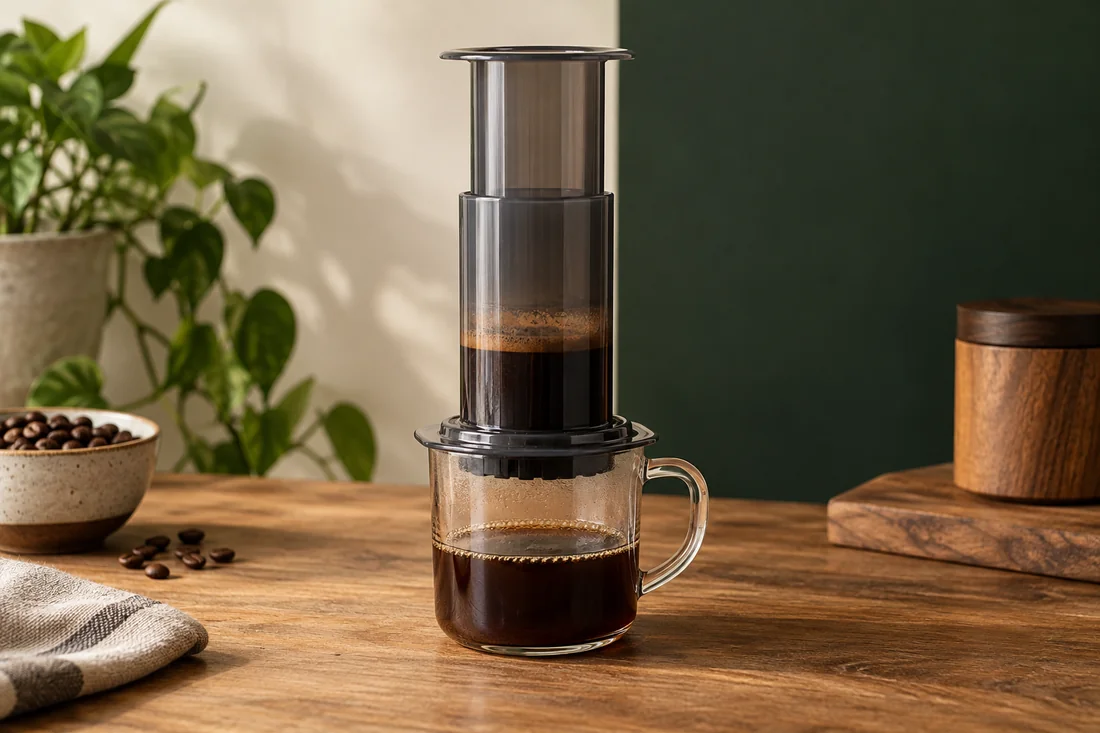
On the go – illustrative image

Your starting recipe

Your cup starts here.

A starting point for your beans and your taste.

Important
safe drinking water
Setup
stable surface
Portion
weigh beforehand
Filter
suitable for the equipment

What you need

Have these ready.

Tick off what is ready. You can start at any time.

Now it is time to make coffee

How it works.
Step by step.

Get an overview first. Then work through each action at your own pace.

Important
safe drinking water
Setup
stable surface
Stopwatch00:00

The stopwatch starts only when you tap Start. It continues counting across page changes if your browser allows storage. No alarm.

Understand the technique

Are you testing only the travel kit?

Coffee on the road: Set out only the travel kit – illustrated techniquePut together exactly the kit you will take along. Mentally hide everything else in your kitchen.AKeep used items

A · What to observeAll used parts are present in the planned kit.

Set out the kit
100 %

You start the motion. A shortened illustration, not a brewing timer.

01

Step 1 of 5

Set out only the travel kit

Put together exactly the kit you will take along. Mentally hide everything else in your kitchen.

Understand the technique

Does the setup safely support brewing?

Coffee on the road: Brew a portion using the kit – illustrated techniqueBrew one portion using only these parts. Use your recorded recipe.AStable setup

A · What to observeThe chosen kit is stable and needs no extra kitchen tools.

Ensure stability
100 %

You start the motion. A shortened illustration, not a brewing timer.

02

Step 2 of 5

Brew a portion using the kit

Brew one portion using only these parts. Use your recorded recipe.

Help with this step

With the upright AeroPress, the mug must safely withstand the pressing force.

Understand the technique

Is there water for preheating and cleaning too?

Coffee on the road: Measure water requirements – illustrated techniqueMeasure how much water you need, including preheating and cleaning.ABrewVorwärmenCleanBrewing + care

A · What to observeThe total includes brewing, preheating and cleaning.

Include cleaning water
100 %

You start the motion. A shortened illustration, not a brewing timer.

03

Step 3 of 5

Measure water requirements

Measure how much water you need, including preheating and cleaning.

Help with this step

Include preheating and cleaning in your water requirements.

Understand the technique

Can all parts dry in the open?

Coffee on the road: Clean and dry – illustrated techniqueClean the kit and check how you can let it dry completely.ADry in the open

A · What to observeCleaned parts are laid open rather than packed away damp.

Allow to dry completely
100 %

You start the motion. A shortened illustration, not a brewing timer.

04

Step 4 of 5

Clean and dry

Clean the kit and check how you can let it dry completely.

Understand the technique

What was actually used?

Coffee on the road: Shorten the packing list – illustrated techniqueRemove everything you did not use, and add only parts that are genuinely missing.AKeep used items

A · What to observeUsed parts stay; unused parts leave the list.

Add only what is missing
100 %

You start the motion. A shortened illustration, not a brewing timer.

05

Step 5 of 5

Shorten the packing list

Remove everything you did not use, and add only parts that are genuinely missing.

Help with this step

Add only parts that are genuinely missing.

Schematic movement and illustrative AI images. Animations shorten the action; follow the quantities, wait times and safety guidance in the text.

If the flavour is not quite rounded yet

One change.
A new attempt.

Recipe tastes different when travelling

Compare suitable drinking water before changing everything about the grind.

No safe surface

Postpone brewing rather than balancing with hot water.

Why it works

The details behind the recipe.

What really matters on the road

A good travel kit starts with three practical questions: where will safe hot water come from, what will support the brewer securely, and how will you dispose of the grounds and clean the equipment? At home, the kitchen answers much of this automatically. On the road, the workflow determines which method suits you and which accessories you really need.

A small pour-over dripper may suit a hotel stay. A robust press is practical in a small space. The classic upright AeroPress does, however, need a stable, suitable cup to press into. Camping also brings wind, uneven surfaces and safe operation of the heat source into play. No coffee recipe justifies an unsafe stove inside a closed tent.

Pack according to your process

Consider how many portions you actually need. Small portions of beans in suitable airtight containers save daily weighing. Label them with the recipe. If you travel without a grinder, have the coffee ground appropriately and choose manageable quantities. This is often better than taking an unsuitable grinder purely on principle.

Take suitable filters with you. A brewer without its required consumables is surprisingly decorative and not very useful on the road. A clean cloth, a bag for the grounds and a suitable transport vessel bridge the gap between brewing and moving on.

Rehearse the travel kit at home
  1. Put together exactly the kit you will take along. Mentally hide everything else in your kitchen.
  2. Brew one portion using only these parts. Use your recorded recipe.
  3. Measure how much water you need, including preheating and cleaning.
  4. Clean the kit and check how you can let it dry completely.
  5. Remove everything you did not use, and add only parts that are genuinely missing.
Improvising without scales

If weight or space rules out scales, measure your portions beforehand. Mark a known amount of water on a suitable cup. This is less precise than weighing, but much easier to follow than adding a different mound of coffee by eye every morning.

Do not confuse pot capacity with actual brewing-water quantity. A travel cup filled to the brim leaves no space for the press or safe carrying. Allow some spare room. With an AeroPress, follow the fill limits and manufacturer’s guidance.

When the water tastes different

When travelling, more than the beans often changes. Water may have more minerals or a noticeably different smell. Use only suitable drinking water. If the result seems unfamiliar, do not change all the grinder settings at once. Comparing with another suitable water can show whether that is the cause.

Enjoyment rather than a luggage inspection

You do not need to recreate a complete coffee bar when travelling. A simple, repeatable recipe and a safe surface go a long way. If the surroundings are unsuitable, a local coffee is a better choice than an improvised hot balancing act. Good coffee rituals can adapt to the day.

Frequently asked

Another question?

Which method is best for travelling?

The one for which you can safely arrange water, a stable surface and cleaning. There is no universal winner.

Can I pre-portion coffee?

Yes. Label the portions and pack them dry and tightly sealed.

Sources & further reading

Related to this topic

Test the travel kit before leaving

Brew at home using only the packed kit. Then check water needs, a stable surface and cleaning.

Reiseprobe nachlesen ↗

Your coffee helper

Coffee Bro.

I help you brew, find coffee knowledge and show you what is on the menu. Your questions stay here in your browser.

Local content & guided help · no connected language model