The guide · Single serving

One small cup

The quantity can be calculated; the process needs a trial of its own.

Recipe, techniques and troubleshooting. All on one page.

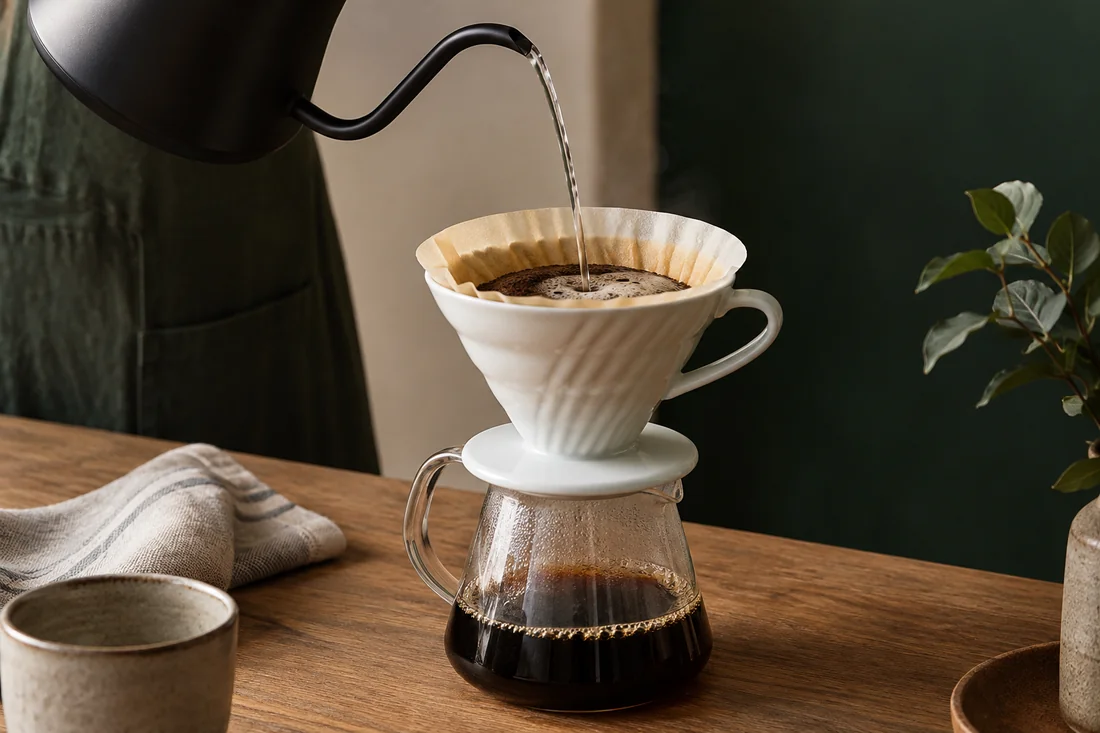
Single serving – illustrative image

Your starting recipe

Your cup starts here.

A starting point for your beans and your taste.

Pour-over start
15 g / 250 g
Smaller calculation
9 g / 150 g
Appliance
adjust to the portion
Assessment
Flavour before the clock

What you need

Have these ready.

Tick off what is ready. You can start at any time.

Now it is time to make coffee

How it works.
Step by step.

Get an overview first. Then work through each action at your own pace.

Pour-over start
15 g / 250 g
Smaller calculation
9 g / 150 g
Stopwatch00:00

The stopwatch starts only when you tap Start. It continues counting across page changes if your browser allows storage. No alarm.

Understand the technique

Does the equipment suit the small portion?

A small cup: Choose the serving size and device – illustrated techniqueDecide your desired portion size and check whether the brewer is suitable for it.ASuitable equipment

A · What to observeThe desired portion and suitable brewer are chosen together.

Choose a suitable kit
100 %

You start the motion. A shortened illustration, not a brewing timer.

01

Step 1 of 5

Choose the serving size and device

Decide your desired portion size and check whether the brewer is suitable for it.

Understand the technique

Are coffee and water scaled together?

A small cup: Weigh the quantities – illustrated techniqueCalculate coffee and water in your desired ratio. Weigh small quantities especially carefully.AScale both amounts

A · What to observeBoth amounts follow the desired ratio.

Weigh the water
100 %

You start the motion. A shortened illustration, not a brewing timer.

02

Step 2 of 5

Weigh the quantities

Calculate coffee and water in your desired ratio. Weigh small quantities especially carefully.

Help with this step

9 g / 150 g is mathematically the same ratio, but does not produce an identical brewing process.

Understand the technique

Are there too many tiny pours?

A small cup: Simplify the pours to suit the portion – illustrated techniqueReduce the number of pours if lots of tiny portions make the process unnecessarily unsettled.ACalm portions

A · What to observeFewer calm portions simplify the small brew.

Avoid unnecessary fuss
100 %

You start the motion. A shortened illustration, not a brewing timer.

03

Step 3 of 5

Simplify the pours to suit the portion

Reduce the number of pours if lots of tiny portions make the process unnecessarily unsettled.

Understand the technique

Is taste recorded alongside drawdown?

A small cup: Record drawdown and taste – illustrated techniqueLog the flow and flavour. Compare the result after brief cooling.AYield · time · taste

A · What to observeA short drawdown is judged together with taste.

Record the taste
100 %

You start the motion. A shortened illustration, not a brewing timer.

04

Step 4 of 5

Record drawdown and taste

Log the flow and flavour. Compare the result after brief cooling.

Help with this step

A short brewing time alone is not a fault.

Understand the technique

Is only one variable different?

A small cup: Change only one thing – illustrated techniqueOn your second attempt, adjust only the grind or pouring technique, not both at once.AOne change

A · What to observeGrind or pouring changes; the other stays fixed.

Compare the next trial
100 %

You start the motion. A shortened illustration, not a brewing timer.

05

Step 5 of 5

Change only one thing

On your second attempt, adjust only the grind or pouring technique, not both at once.

Help with this step

Change grind size or pouring technique, not both at once.

Schematic movement and illustrative AI images. Animations shorten the action; follow the quantities, wait times and safety guidance in the text.

If the flavour is not quite rounded yet

One change.
A new attempt.

Small cup brews quickly but tastes rounded

Do not force anything; record the successful process.

Slow and dry

Check whether the grind became too fine solely because of a long recipe time.

Why it works

The details behind the recipe.

Half the amount does not always mean the same process

Less coffee creates a shallower bed in a pour-over filter. This can change water flow and brewing time. Quartering a recipe for four people preserves the mathematical ratio, but not every brewing condition. Treat a single cup as its own recipe. The goal is a good small brew, not the brewing time of a large carafe.

Choose suitable equipment

A small pour-over dripper, a suitable AeroPress or an immersion dripper can be handy for one portion. A large filter machine may have a minimum quantity. Check the manufacturer's guidance before trying to perfect a tiny serving in a large basket. Switching to a suitable brewer may take less effort.

A common manufacturer's starting point for pour-over is 15 grams of coffee and 250 grams of water. If you want only 150 grams of water, 9 grams of coffee gives the same calculated ratio. However, this does not mean the same pouring sequence and grinder setting will work identically.

An organised trial
  1. Decide your desired portion size and check whether the brewer is suitable for it.
  2. Calculate coffee and water in your desired ratio. Weigh small quantities especially carefully.
  3. Reduce the number of pours if lots of tiny portions make the process unnecessarily unsettled.
  4. Log the flow and flavour. Compare the result after brief cooling.
  5. On your second attempt, adjust only the grind or pouring technique, not both at once.
The typical mistake

A small cup drains quickly. That does not automatically mean poor extraction. If it tastes rounded and sufficiently intense, a short recipe is fine. A change is worthwhile only when taste and process together suggest a problem.

Conversely, very fine grounds in a small quantity can produce a sluggish, dry cup. More water is not necessarily the answer. Check whether you have been trying to force the same brewing time as a large pot artificially.

Keep heat loss in mind

With small quantities, a cold brewing vessel has a greater impact. Preheat it appropriately for its material and avoid long pauses between kettle and pouring. A heavy, cold cup can quickly cool a small coffee. That calls for a prepared routine, not risky temperatures.

An alternative without pouring acrobatics

With an immersion dripper, you can steep a small portion with the valve closed first, then release it. Contact time then depends less directly on your pouring speed. The fill limit still matters here. Use the specific model's recipe as guidance and adjust the amount deliberately.

Record the single-cup recipe

Write down not only gram amounts but also filter size, water and number of pours. Then you can repeat the same cup in the morning without having to reconstruct yesterday's hand movements. If you later brew for guests, treat the larger recipe as its own experiment rather than an automatic multiplication.

Frequently asked

Another question?

Should a small cup take as long to brew as a large pot?

No. Bed depth and water quantity differ; taste decides.

What matters most with small portions?

The right equipment size, precise dosing and a preheated setup.

Sources & further reading

Related to this topic

From one cup to a gathering

When more people join you, recalculate portions and batches. A larger coffee bed needs its own checked workflow.

Kaffee für Gäste planen ↗

Your coffee helper

Coffee Bro.

I help you brew, find coffee knowledge and show you what is on the menu. Your questions stay here in your browser.

Local content & guided help · no connected language model