The guide · Cold extraction

Cold Brew

A small cold batch with clean equipment and steeping in the fridge.

Recipe, techniques and troubleshooting. All on one page.

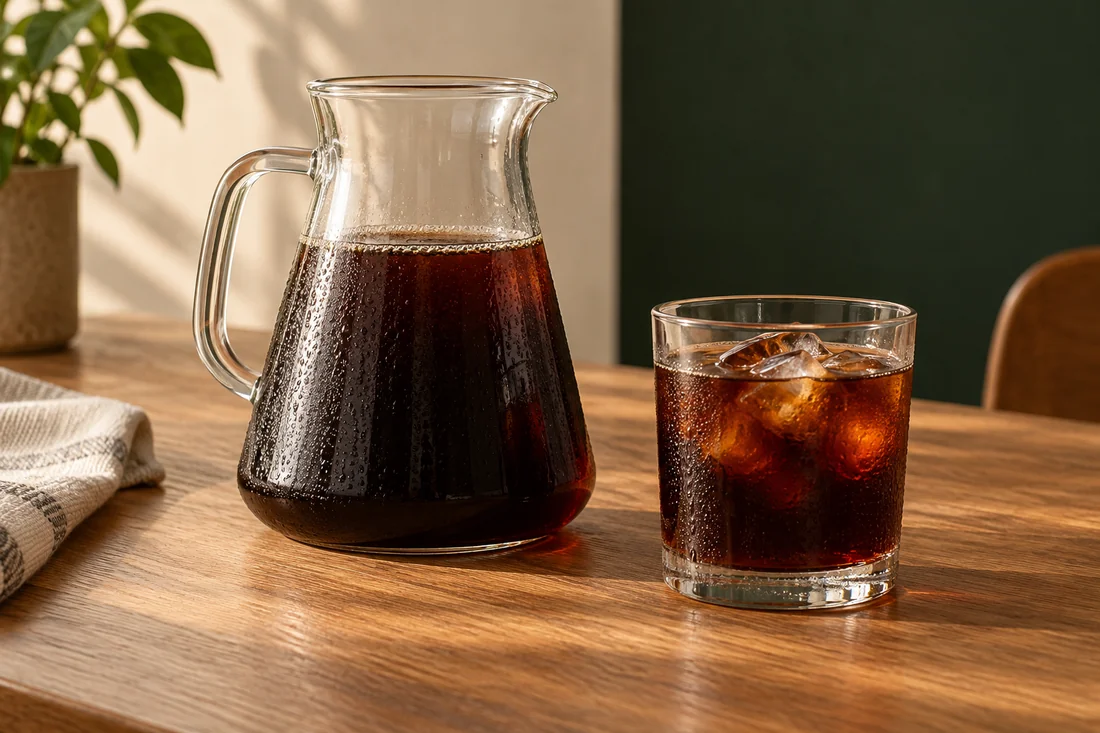
Cold-extracted — illustrative image

Your starting recipe

Your cup starts here.

A starting point for your beans and your taste.

Coffee
55 g
Water
approx. 700 ml
Steeping time
approx. 8 h
Location
Fridge

Quantities adjust in the steps too. Do not simply scale brewing time and grind; observe equipment size.

What you need

Have these ready.

Tick off what is ready. You can start at any time.

Now it is time to make coffee

How it works.
Step by step.

Get an overview first. Then work through each action at your own pace.

Coffee
55 g
Water
approx. 700 ml
Stopwatch00:00

The stopwatch starts only when you tap Start. It continues counting across page changes if your browser allows storage. No alarm.

Alles reinigen – illustrative Aufnahme
Are lid and filter clean too?
Understand the technique

Are lid and filter clean too?

Cold brew: Clean everything – illustrated techniqueClean the vessel, lid and filter and rinse away any cleaning-product residues completely.AResidue removed

A · What to observeVessel, lid and filter are cleaned and fully rinsed.

Set out clean
100 %

You start the motion. A shortened illustration, not a brewing timer.

01

Step 1 of 5

Clean everything

Clean the vessel, lid and filter and rinse away any cleaning-product residues completely.

Understand the technique

Is the intended filter seated correctly?

Cold brew: Weigh in the coffee – illustrated techniqueWeigh the coffee and insert the filter following the equipment instructions.AFilter sits open

A · What to observeWeighed coffee stays in the correctly seated filter.

Follow the device instructions
100 %

You start the motion. A shortened illustration, not a brewing timer.

02

Step 2 of 5

Weigh in the coffee

Weigh the coffee and insert the filter following the equipment instructions.

Understand the technique

Does cold water reach the centre?

Cold brew: Wet with water – illustrated techniqueAdd cold drinking water and wet all the grounds. Avoid dry clumps inside.AWet inside

A · What to observeGrounds in the centre are wet rather than clumped dry.

Avoid dry clumps
100 %

You start the motion. A shortened illustration, not a brewing timer.

03

Step 3 of 5

Wet with water

Add cold drinking water and wet all the grounds. Avoid dry clumps inside.

Help with this step

Carefully wet dry clumps in the filter completely.

Understand the technique

Is the brew covered and refrigerated?

Cold brew: Steep in the refrigerator – illustrated techniqueSeal the batch and put it in the fridge. Note the start time.ACovered, chilled

A · What to observeLid closed, brew in the refrigerator, start time recorded.

Record the start time
100 %

You start the motion. A shortened illustration, not a brewing timer.

04

Step 4 of 5

Steep in the refrigerator

Seal the batch and put it in the fridge. Note the start time.

Help with this step

Note the start time; this batch stays refrigerated.

Understand the technique

Is the filter removed before tasting?

Cold brew: Remove the filter and taste – illustrated techniqueAfter your planned steeping time, remove the grounds or filter. Gently mix the drink and taste a small portion.AWait for drainage

A · What to observeThe filter and grounds leave the drink; the coffee is mixed gently.

Taste a small portion
100 %

You start the motion. A shortened illustration, not a brewing timer.

05

Step 5 of 5

Remove the filter and taste

After your planned steeping time, remove the grounds or filter. Gently mix the drink and taste a small portion.

Help with this step

Discard unusual-looking batches and use finished coffee promptly.

Schematic movement and illustrative AI images. Animations shorten the action; follow the quantities, wait times and safety guidance in the text.

If the flavour is not quite rounded yet

One change.
A new attempt.

Flat flavour

For the next batch, change either dose or steeping time, not both.

Lots of sediment

Check the filter fit or filter again appropriately if needed.

Why it works

The details behind the recipe.

Cold-brewed is more than just cold coffee

Cold brew starts with cold water: coffee and water stay in contact for an extended period. Hot-brewed iced coffee, by contrast, is extracted hot and then cooled. The methods can bring out different aromas. Neither is a blanket promise of less caffeine or better tolerance. Recipe, serving size and individual perception still matter.

A manageable batch

For a Hario filter bottle, the manufacturer specifies 55 grams of coffee, approximately 700 millilitres of water and eight hours in the fridge. Observe the fill limits of your particular device. For a first experiment, a small batch makes more sense than several litres whose taste and shelf life you do not yet know.

You need a clean, suitable vessel, drinking water, ground coffee, scales and a filter. Whether a finer or coarser grind works well also depends on the filter. Very fine grounds can make later filtration harder. Check the manufacturer's recipe for your system.

Step by step
  1. Clean the vessel, lid and filter and rinse away any cleaning-product residues completely.
  2. Weigh the coffee and insert the filter following the equipment instructions.
  3. Add cold drinking water and wet all the grounds. Avoid dry clumps inside.
  4. Seal the batch and put it in the fridge. Note the start time.
  5. After your planned steeping time, remove the grounds or filter. Gently mix the drink and taste a small portion.
Choose strength consciously

Not every cold brew is a concentrate. A recipe with a lot of coffee and little water may be intended for later dilution. Other recipes produce a ready-to-drink beverage. Always note whether your quantities apply before or after dilution.

If the cup seems balanced but too strong, add a little cold water and taste again. Extra ice keeps changing the strength as you drink. For a fair comparison between two batches, use the same quantity of ice and the same dilution.

Spot problems

A musty or unusual smell is not a job for syrup. Discard any batch that seems off. Even an unremarkable smell does not prove unlimited shelf life. Work with small quantities, continuous refrigeration and clean equipment. Milk, pieces of fruit and other additions are best added to individual glasses, as they change the batch further.

If the coffee tastes flat, adjust the dose or steeping time deliberately next time. Do not change both at once. If there are lots of grounds in the drink, check the filter or filter it again through suitable paper if needed. Expect a different mouthfeel as a result.

Serve fresh

Hario recommends drinking it promptly and describes a deterioration in flavour after just one to two days. This is not microbiological approval for a fixed storage period. Commercial food service requires a hygiene procedure suited to the business. These home instructions do not replace it.

Frequently asked

Another question?

Is Cold Brew caffeine-free or low in caffeine?

No. The amount depends on factors including coffee, ratio and serving size.

Can I simply chill ordinary hot coffee?

Yes, that is chilled hot-brewed coffee rather than Cold Brew preparation.

Sources & further reading

Related to this topic

Cold-brewed or cooled from hot?

Compare a small chilled batch of cold brew with coffee brewed hot onto ice. Taste them at a similar temperature and dilution.

Heiß auf Eis ausprobieren ↗

Your coffee helper

Coffee Bro.

I help you brew, find coffee knowledge and show you what is on the menu. Your questions stay here in your browser.

Local content & guided help · no connected language model