The guide · Automatic filter

Filter machine

Weigh coffee and water to suit the actual amount in the jug.

Recipe, techniques and troubleshooting. All on one page.

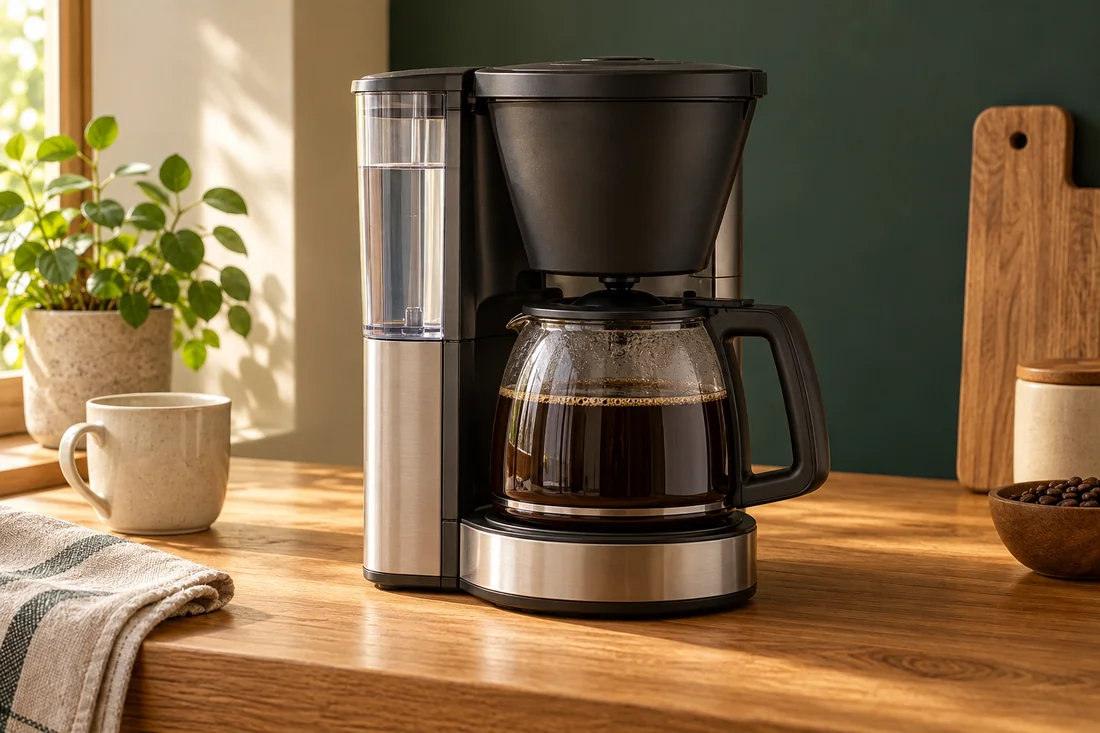
Automatic filter — illustrative image

Your starting recipe

Your cup starts here.

A starting point for your beans and your taste.

Coffee
55 g
Water
1000 g
Ratio
55 g coffee / 1 l water
Filter
suitable for the basket
Grind setting
medium
Quantity
according to equipment capacity

Quantities adjust in the steps too. Do not simply scale brewing time and grind; observe equipment size.

What you need

Have these ready.

Tick off what is ready. You can start at any time.

Now it is time to make coffee

How it works.
Step by step.

Get an overview first. Then work through each action at your own pace.

Coffee
55 g
Water
1000 g
Stopwatch00:00

The stopwatch starts only when you tap Start. It continues counting across page changes if your browser allows storage. No alarm.

Understand the technique

Does the tank level match the mark?

Filter machine: Measure the water – illustrated techniqueFill with fresh drinking water to the desired mark. Use the water temperature specified by the manufacturer for the tank.AFollow the mark

A · What to observeMeasured water reaches the chosen tank mark.

Follow the mark
100 %

You start the motion. A shortened illustration, not a brewing timer.

01

Step 1 of 5

Measure the water

Fill with fresh drinking water to the desired mark. Use the water temperature specified by the manufacturer for the tank.

Help with this step

The tank scale represents different cup sizes depending on the model.

Understand the technique

Does the paper fit the basket?

Filter machine: Insert the paper and coffee – illustrated techniqueInsert the correct filter size. Weigh the coffee and start with a medium grind suitable for filter brewing.AFilter sits open

A · What to observeThe correct filter size sits open in the basket with coffee inside.

Add to the filter
100 %

You start the motion. A shortened illustration, not a brewing timer.

02

Step 2 of 5

Insert the paper and coffee

Insert the correct filter size. Weigh the coffee and start with a medium grind suitable for filter brewing.

Understand the technique

Are the bed and flow path ready?

Filter machine: Check the basket and carafe – illustrated techniqueDistribute the grounds evenly in the filter basket. Fully insert the basket and pot, and check the flow.ALevel bed

A · What to observeGrounds are level; basket and carafe are fully seated.

Check the flow path
100 %

You start the motion. A shortened illustration, not a brewing timer.

03

Step 3 of 5

Check the basket and carafe

Distribute the grounds evenly in the filter basket. Fully insert the basket and pot, and check the flow.

Help with this step

Set a manual drip stop correctly before brewing.

Understand the technique

Does the carafe stay until brewing ends?

Filter machine: Start the brew – illustrated techniqueStart the machine and let the brewing cycle finish before removing the jug.AUntil finished

A · What to observeThe full brew collects in the same carafe.

Remove only when finished
100 %

You start the motion. A shortened illustration, not a brewing timer.

04

Step 4 of 5

Start the brew

Start the machine and let the brewing cycle finish before removing the jug.

Understand the technique

Is the brew mixed before tasting?

Filter machine: Mix the carafe and taste – illustrated techniqueMix the finished coffee by gently swirling or stirring, and taste a small portion.AMix before serving

A · What to observeSwirling or stirring combines the layers in the carafe.

Plan one change
100 %

You start the motion. A shortened illustration, not a brewing timer.

05

Step 5 of 5

Mix the carafe and taste

Mix the finished coffee by gently swirling or stirring, and taste a small portion.

Help with this step

Change just one variable for the next round.

Schematic movement and illustrative AI images. Animations shorten the action; follow the quantities, wait times and safety guidance in the text.

If the flavour is not quite rounded yet

One change.
A new attempt.

Thin and lacking aroma

Check dose and even wetting; change only one setting on the next attempt.

Flow stalls or jug is missing

Check basket, pot, filter and drip stop according to the appliance manual.

Why it works

The details behind the recipe.

Automatic does not mean anything goes

A filter coffee machine handles pouring and largely controls the water flow itself. This makes brewing several cups easier. You still decide how much coffee meets how much water. Weighing makes that decision repeatable: a heaped scoop can vary each time, and different beans do not necessarily weigh the same at the same volume.

Start with the water quantity

The tank scale is not a universal mug size. Check what a cup means for your model. Moccamaster’s US help pages, for example, suggest 55 grams of coffee per litre of water as a starting point and recommend weighing. This figure is not an obligation: you may prefer a stronger recipe.

Start with a quantity your model is designed to handle. A large machine may not perform equally well with a tiny portion. If it has a half-pot mode, use it according to the instructions. A manual drip stop must be in the correct position before normal brewing.

Steps for your first comparison pot
  1. Fill with fresh drinking water to the desired mark. Use the water temperature specified by the manufacturer for the tank.
  2. Insert the correct filter size. Weigh the coffee and start with a medium grind suitable for filter brewing.
  3. Distribute the grounds evenly in the filter basket. Fully insert the basket and pot, and check the flow.
  4. Start the machine and let the brewing cycle finish before removing the jug.
  5. Mix the finished coffee by gently swirling or stirring, and taste a small portion.
What you can sensibly change

If the coffee is balanced but too intense, first try adding a little hot water to your cup. This helps you check whether strength is really the issue. If the cup is thin and lacks aroma, first check that you dosed correctly and that the coffee bed was wetted evenly.

Do not change dose, grind and bean simultaneously. For a clear second attempt, keep the water quantity the same. Choose, for example, a little more coffee or a small grind adjustment. Note the change directly on the bean bag or on your phone.

Keeping warm without an endless cycle

A hotplate is handy, but freshly brewed coffee changes when left standing for a long time. Plan suitable batches rather than one big pot for many hours. Preheating a vacuum flask helps without adding more heat later. Pay attention to the material and to cleaning the lid; coffee residue likes to linger there.

Cleaning is part of the recipe

A clean jug and filter basket prevent old residue from accompanying every new bean. Descaling and cleaning are different tasks: limescale and coffee oils require different procedures approved by the manufacturer. Do not put homemade cleaning mixtures in the tank. Follow the instructions and the dosage for the specified product.

Frequently asked

Another question?

How much coffee for half a litre?

The Moccamaster table mentioned gives around 28 grams as a starting point. Adjust to taste.

Why does a small portion taste different?

Water distribution and bed depth change. Use an appropriate quantity for the brewer or a single-cup brewer.

Sources & further reading

Related to this topic

Make a carafe repeatable

Weigh coffee and water for the next carafe. A recorded ratio makes it easier to see what an adjustment does.

Brühverhältnis berechnen ↗

Your coffee helper

Coffee Bro.

I help you brew, find coffee knowledge and show you what is on the menu. Your questions stay here in your browser.

Local content & guided help · no connected language model