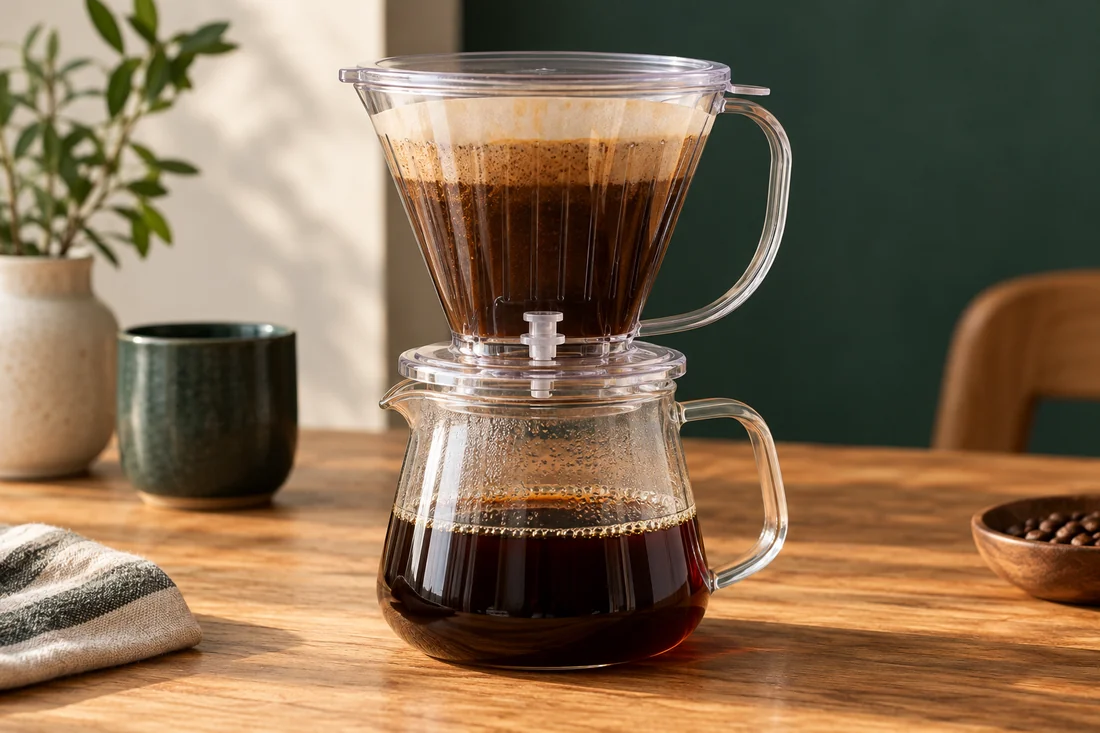
The guide · Immersion & paper

Immersion Dripper

First steep with the valve closed, then drain through paper.

Recipe, techniques and troubleshooting. All on one page.

Immersion & paper – illustrative image

Your starting recipe

Your cup starts here.

A starting point for your beans and your taste.

Coffee
15 g
Water
250 g
Temperature
approx. 92–94 °C
Closed
Approx. 2 min

Quantities adjust in the steps too. Do not simply scale brewing time and grind; observe equipment size.

What you need

Have these ready.

Tick off what is ready. You can start at any time.

Now it is time to make coffee

How it works.
Step by step.

Get an overview first. Then work through each action at your own pace.

Coffee
15 g
Water
250 g
Stopwatch00:00

The stopwatch starts only when you tap Start. It continues counting across page changes if your browser allows storage. No alarm.

Understand the technique

Is the serving vessel empty after rinsing?

Immersion dripper: Rinse the paper – illustrated techniqueInsert the correct paper, rinse it and let the rinse water drain. Empty it from the serving vessel.ARinse water out

A · What to observeRinse water runs through the paper and is discarded.

Empty the serving vessel
100 %

You start the motion. A shortened illustration, not a brewing timer.

01

Step 1 of 5

Rinse the paper

Insert the correct paper, rinse it and let the rinse water drain. Empty it from the serving vessel.

Understand the technique

Is the valve closed before filling?

Immersion dripper: Close the valve – illustrated techniqueClose the valve. Add the weighed coffee and make sure the brewer is stable.AValve closed

A · What to observeThe closed opening retains water for the steeping phase.

Check stability
100 %

You start the motion. A shortened illustration, not a brewing timer.

02

Step 2 of 5

Close the valve

Close the valve. Add the weighed coffee and make sure the brewer is stable.

Help with this step

Before trying it hot, check how your model closes and opens.

Understand the technique

Is there room while wetting everything?

Immersion dripper: Wet all the coffee – illustrated techniquePour in the planned amount of water without exceeding the fill limit. Wet everything with as few movements as possible.ARoom below rim

A · What to observeAll areas are wet; water stays below the fill limit.

Wet all the grounds
100 %

You start the motion. A shortened illustration, not a brewing timer.

03

Step 3 of 5

Wet all the coffee

Pour in the planned amount of water without exceeding the fill limit. Wet everything with as few movements as possible.

Help with this step

Observe the fill limit for your specific brewer.

Understand the technique

When does drainage begin?

Immersion dripper: Allow to steep, then open – illustrated techniqueLet the coffee steep for approximately two minutes. Then open the valve according to the device instructions.ASteep first, then open

A · What to observeThe closed steep comes first; the valve then opens the drain.

Drawdown begins
100 %

You start the motion. A shortened illustration, not a brewing timer.

04

Step 4 of 5

Allow to steep, then open

Let the coffee steep for approximately two minutes. Then open the valve according to the device instructions.

Help with this step

Record the closed phase and subsequent draining time separately.

Understand the technique

Is coffee still draining from the dripper?

Immersion dripper: Allow to drain and mix – illustrated techniqueWait for the drawdown, remove the dripper and mix the finished coffee.AWait for drainage

A · What to observeFinal drops reach the vessel before the dripper is removed.

Mix the coffee
100 %

You start the motion. A shortened illustration, not a brewing timer.

05

Step 5 of 5

Allow to drain and mix

Wait for the drawdown, remove the dripper and mix the finished coffee.

Schematic movement and illustrative AI images. Animations shorten the action; follow the quantities, wait times and safety guidance in the text.

If the flavour is not quite rounded yet

One change.
A new attempt.

Flow stalls

Check fine particles, grind, vigorous stirring and valve.

Rounded but too intense

First test a little water in the finished cup.

Why it works

The details behind the recipe.

Two phases, one brewer

An immersion dripper combines two brewing phases: coffee and water steep together with the valve closed. When you open it, the drink drains through a paper filter. This lets you set the closed steeping time separately from the subsequent drainage. It makes getting started easier if a steady freehand pour is still difficult.

Not all brewers work identically. Some open with a switch, others when placed on a pot. Before your first hot brew, establish when your model holds liquid and when it drains. It sounds obvious, but prevents the classic mistake: a recipe with a steeping stage that immediately disappears through an open valve.

A sensible starting point

For the Switch, Hario specifies 15 grams of coffee, 250 grams of water at around 92 to 94 degrees and two minutes of steeping with the valve closed. Use a model with enough capacity. Smaller versions may reach their fill limit with this combination; if so, reduce both quantities proportionally or follow the recipe for that model.

The following method follows this basic idea. The aim is a simple process before you experiment with partly open hybrid recipes or many separate pours.

Step by step
  1. Insert the correct paper, rinse it and let the rinse water drain. Empty it from the serving vessel.
  2. Close the valve. Add the weighed coffee and make sure the brewer is stable.
  3. Pour in the planned amount of water without exceeding the fill limit. Wet everything with as few movements as possible.
  4. Let the coffee steep for approximately two minutes. Then open the valve according to the device instructions.
  5. Wait for the drawdown, remove the dripper and mix the finished coffee.
Note steeping and drawdown times separately

Two minutes in the closed phase plus one minute draining is not the same as three minutes in the closed phase. Write both values down when comparing recipes. The later drawdown time also offers clues about grounds and paper, but is not a flavour assessment on its own.

If drainage stalls for a long time, check the grind, fine particles and whether you stirred very vigorously. Steeping for ever longer will not fix a mechanical blockage. If the coffee tastes pleasant but too intense, try adding a little water to the finished cup before changing the whole process.

A good introduction to experimenting

Brew the same bean once with a two-minute closed phase and once with two and a half minutes. Keep dose, temperature and grind size the same. Compare at a similar drinking temperature. Note which version you prefer drinking, rather than which number looks more professional.

Only then is it worth trying a hybrid approach with some open flow-through. There is no bonus for turning a simple device into a complicated ritual unnecessarily early.

Keep the valve clean

Remove coffee residue from moving parts according to the instructions. Check that the valve opens and closes freely. Do not dismantle hot components or lose small parts down the drain. A clean mechanism is essential if your set steeping time is actually to be maintained.

Frequently asked

Another question?

Is that the same as V 60?

With the valve open, the process resembles a pour-over. Closing it adds a separate steeping phase.

Do I need to stir constantly?

No. To get started, complete wetting with a few repeatable movements is enough.

Sources & further reading

Related to this topic

Measure the two phases separately

Record the closed steeping time and subsequent drainage separately. This turns the next adjustment into a meaningful comparison.

Ziehversuch dokumentieren ↗

Your coffee helper

Coffee Bro.

I help you brew, find coffee knowledge and show you what is on the menu. Your questions stay here in your browser.

Local content & guided help · no connected language model