
Espresso practice · 3 MIN READ

Adjusting your espresso grinder

Keep dose and drink yield fixed. A small grind adjustment then shows you what it actually does.

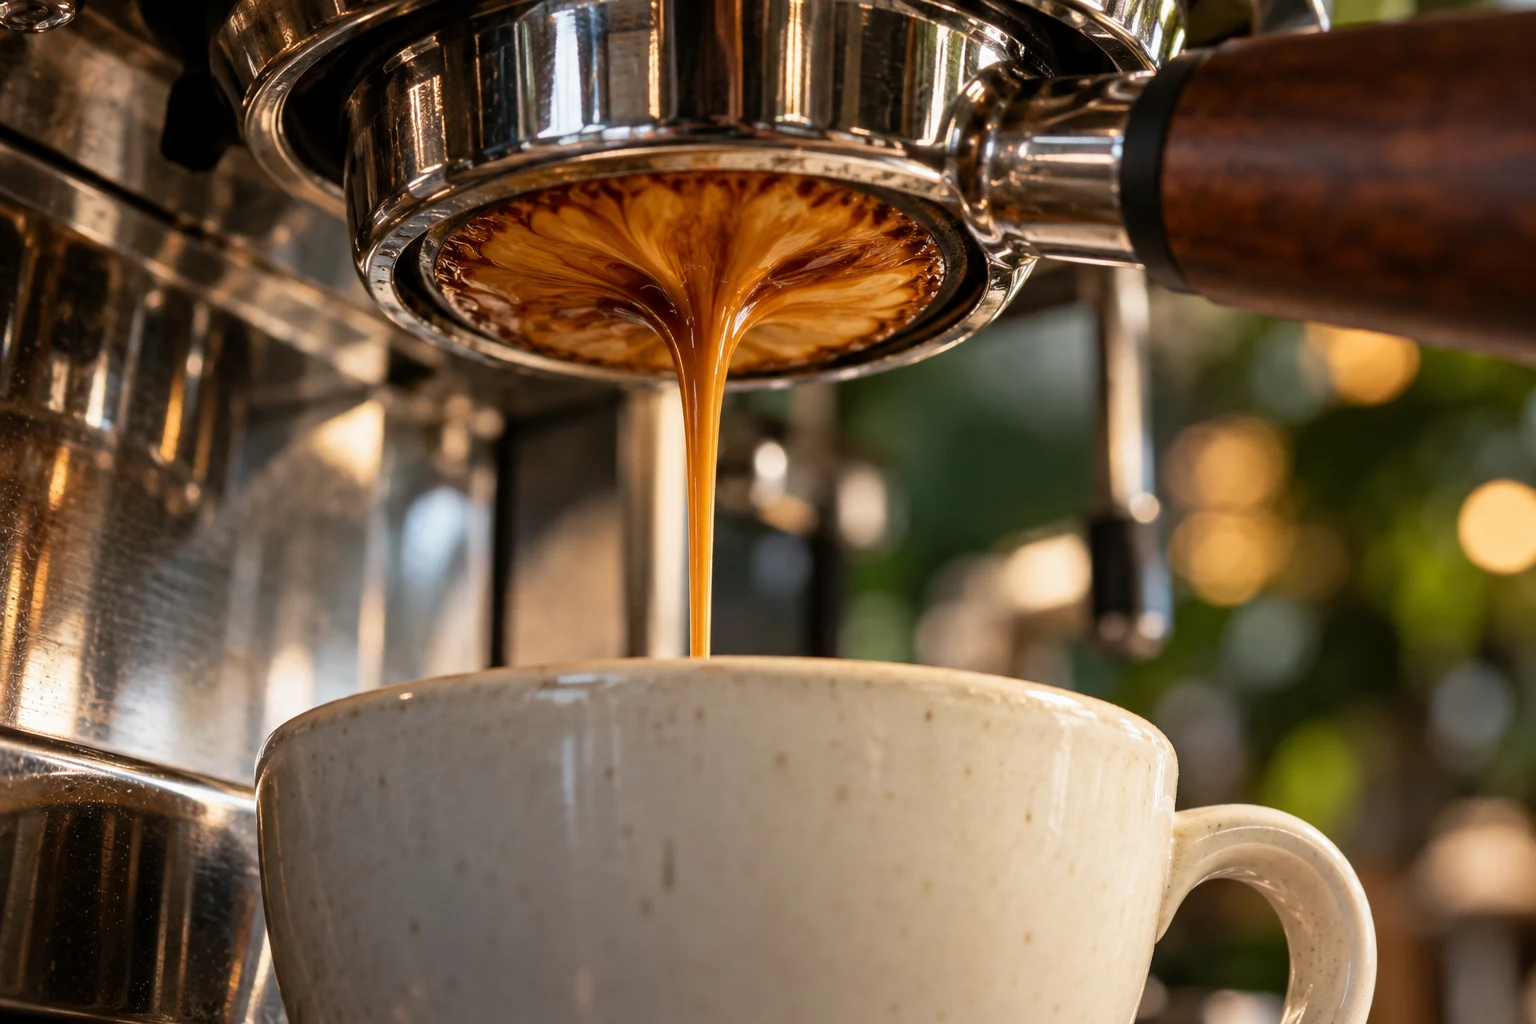
Espresso flowing from a portafilter into a cup

Knowledge you can explore

Weigh first, then adjust

Three views make the relationship visible. Choose a question, compare the diagram and check your understanding.

Fix the dose and target outputStart with a dose suited to your basket and a planned beverage mass. Have the machine and portafilter clean and ready. Weigh what is actually in the basket: retained grounds mean the amount entering the grinder does not always equal the amount that comes out.01 / 03
  1. Dose in the basketDose in the basket
  2. Planned drink massPlanned drink mass
  3. Fix both quantitiesFix both quantities

Scroll the diagram sideways to read every label.

Count what reaches the basket

Schematic illustration · not a measurement or real-time demonstration

01 / 03

Fix the dose and target output

Start with a dose suited to your basket and a planned beverage mass. Have the machine and portafilter clean and ready. Weigh what is actually in the basket: retained grounds mean the amount entering the grinder does not always equal the amount that comes out.

02 / 03

Taste gives the timer meaning

Extract to your target beverage mass and record time, flow and taste. Fast, thin and sharp can suggest a small move finer. Severe stalling with a harsh taste can justify a move coarser. These are test ideas, not automatic commands based solely on a particular timer reading.

03 / 03

Weigh again after adjusting

Changing grind size can also change the output of a timed grinder. Check the dose again and handle retained grounds according to the manufacturer’s instructions. Adjust only as your grinder permits. If identical attempts vary widely, check distribution and preparation before making bigger changes to the setting.

A quick thought check

You moved a timed grinder finer. What should you check again?

Explore the numbers and controls

02 / The small adjustment

Medium

Schematic particles · not a grinder scale

Explore grind size

Small pieces.
Big difference.

Finer grounds offer more accessible surface area. They also change the resistance to water in the coffee bed.

Medium: your pour-over starting point.

Start with a medium grind. Compare a small change at the next brew, keeping coffee and water quantities the same.

These are broad guides. Bean, dose, filter and grinder all contribute. Fine is not automatically better; a number cannot be transferred between grinders.

Understand grind more precisely ↗
01

Set dose and target drink weight

The right espresso grinder setting depends on the bean, roast, age and recipe. Before adjusting it, choose a dose that suits the basket and a target drink weight. One possible starting point is 18 grams of coffee and 36 grams of espresso, provided the basket is designed for that dose. These fixed measurements let you assess a grind change meaningfully.

The machine should be ready to use and the portafilter clean. If your water flow or preparation varies greatly, dialling in the grinder becomes guesswork. Establish a calm, repeatable routine first.

02

Weigh before adjusting

Weigh the actual amount in the basket, not just the beans you put in at the top. Depending on the grinder, some remain in the grinding path. With timed dosing, a grind adjustment may also change the amount dispensed. Check the dose again after every relevant change.

03

Check settings one at a time

  1. Brew with the same dose and stop at your chosen drink yield.
  2. Record time, flow and taste. Count time from the same event on every attempt.
  3. If extraction is unusually fast and tastes thin or sharp, try one small step finer.
  4. If it stalls badly and tastes unpleasantly rough, try one small step coarser.
  5. Remove retained grounds as instructed by the manufacturer and repeat with all other variables unchanged.
04

Do not get fixated on time

One recipe can taste good at 30 seconds, another at a different time. The clock is an observation tool. If you react solely to seconds, you may overlook an even, delicious extraction. Taste the stirred espresso after a brief cooling period.

05

Follow the operating instructions

Some grinders may only be adjusted finer while running. Others have different requirements. Do not blindly apply another appliance's instructions. Do not force the adjustment against resistance or reach into the grinding mechanism. Follow the specified shutdown and safety rules for cleaning and maintenance.

06

When small steps explain nothing

If two identical extractions vary greatly, check the dose, distribution, dry filter basket and residue. An uneven tamp or changing quantities may have more effect than your last grinder adjustment. Repeat a carefully prepared attempt before making ever larger changes.

07

Starting a new bean

Note the old setting before you change it, so you can find your way back later. Start the new bean in a plausible range and work towards the right setting slowly. The perfect setting from a video is no guarantee for your combination of basket, machine and coffee.

08

The result is repeatable flavour

If two or three carefully prepared shots taste similarly good, record the recipe. You do not need to use the entire bag searching for a theoretically ideal number. The grinder should improve your coffee, not take over your morning.

Frequently asked

Another question?

Why does the dose change after grinding?

Timed grinders may dispense different quantities at different settings; grounds can also be retained.

Can I adjust it while it is running?

That depends on your grinder. Check its specific instructions.

Sources & further reading

Related to this topic

Save the setting you found

Record dose, drink weight, timing start and taste. A short recipe note makes it easier to return after your next bean change.

Espressorezept dokumentieren ↗

Your coffee helper

Coffee Bro.

I help you brew, find coffee knowledge and show you what is on the menu. Your questions stay here in your browser.

Local content & guided help · no connected language model