Recipe, techniques and troubleshooting. All on one page.
Your starting recipe
Your cup starts here.
A starting point for your beans and your taste.
Coffee
15 g
Water
250 g
Grind setting
medium
Temperature
approx. 92–94 °C
Bloom
45 g · 30–45 s
Quantities adjust in the steps too. Do not simply scale brewing time and grind; observe equipment size.
What you need
Have these ready.
Tick off what is ready. You can start at any time.
Brew Studio: try each movement
Understand each move
Your Brew Studio.
Play each movement separately. Quantities and instructions stay visible; you set the pace.
V60You start
Rinse water
One total. Three pours.
Bloom water counts towards the total. These figures show one possible division.
Bloom45 g
First pour105 g
Second pour100 g
Before this pour
0 g
Add now
+45 g
Target on the scale
45 g
Condensed illustration · 7 s per step, not actual brewing time
Step 1 / 6
Rinse the filter, discard the water.
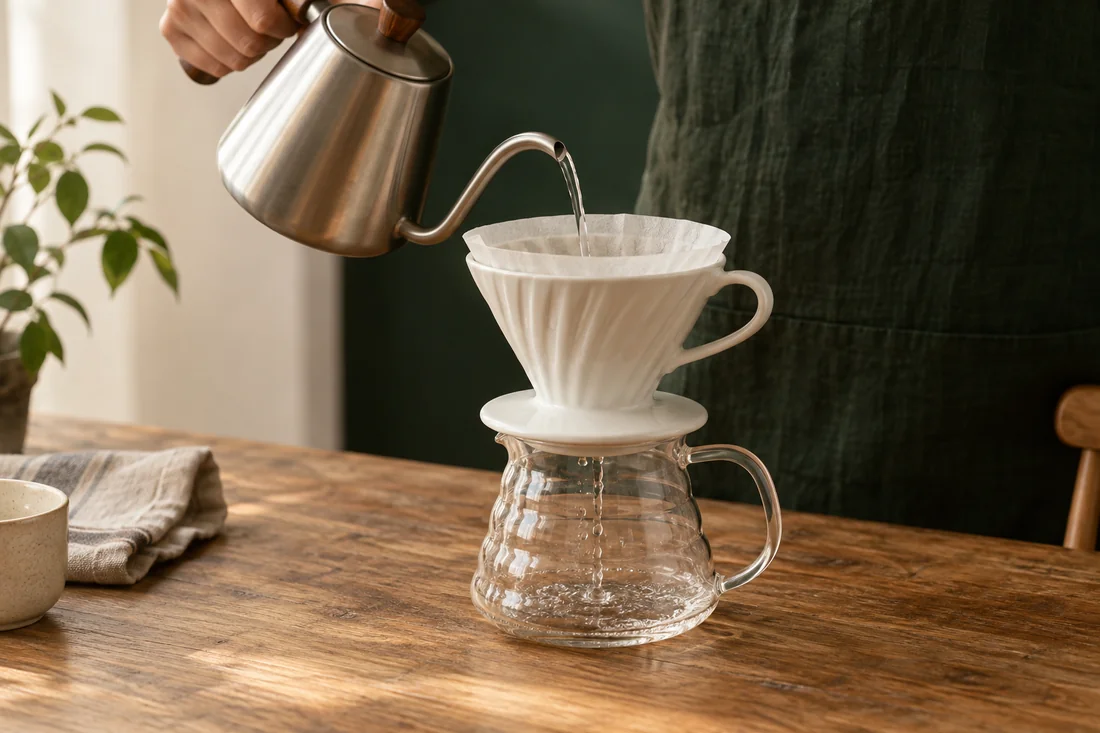
Insert the paper, rinse it with hot water and discard the rinse water. Place the filter and jug on the scales.
Watch for
The rinse water does not belong in the finished coffee.
Coffee
15 g
Total brew water
250 g
Temperature
92–94 °C
Bloom wait
30–45 s
Hit 36 g. Start the virtual shot and stop it at your target.
Now it is time to make coffee
How it works. Step by step.
Get an overview first. Then work through each action at your own pace.
Coffee
15 g
Water
250 g
Stopwatch
The stopwatch starts only when you tap Start. It continues counting across page changes if your browser allows storage. No alarm.
Where does rinse water go?
Understand the technique01 / 04
Where does rinse water go?
A · What to observePaper fits; the serving vessel is empty afterwards.
How to correct itDiscard rinse water before adding coffee.
Place on the scale
You start the motion. A shortened illustration, not a brewing timer.
01
Step 1 of 4
Prepare the filter
Insert the paper, rinse it with hot water and discard the rinse water. Place the filter and jug on the scales.
Help with this step
The rinse water does not belong in the finished coffee.
Is the coffee bed level?
Understand the technique02 / 04
Is the coffee bed level?
A · What to observeA small movement evens out mounds and gaps.
How to correct itShake the filter gently, then tare the scale.
Tare the scale
You start the motion. A shortened illustration, not a brewing timer.
02
Step 2 of 4
15 g Grind and add the coffee
15 gWeigh the coffee
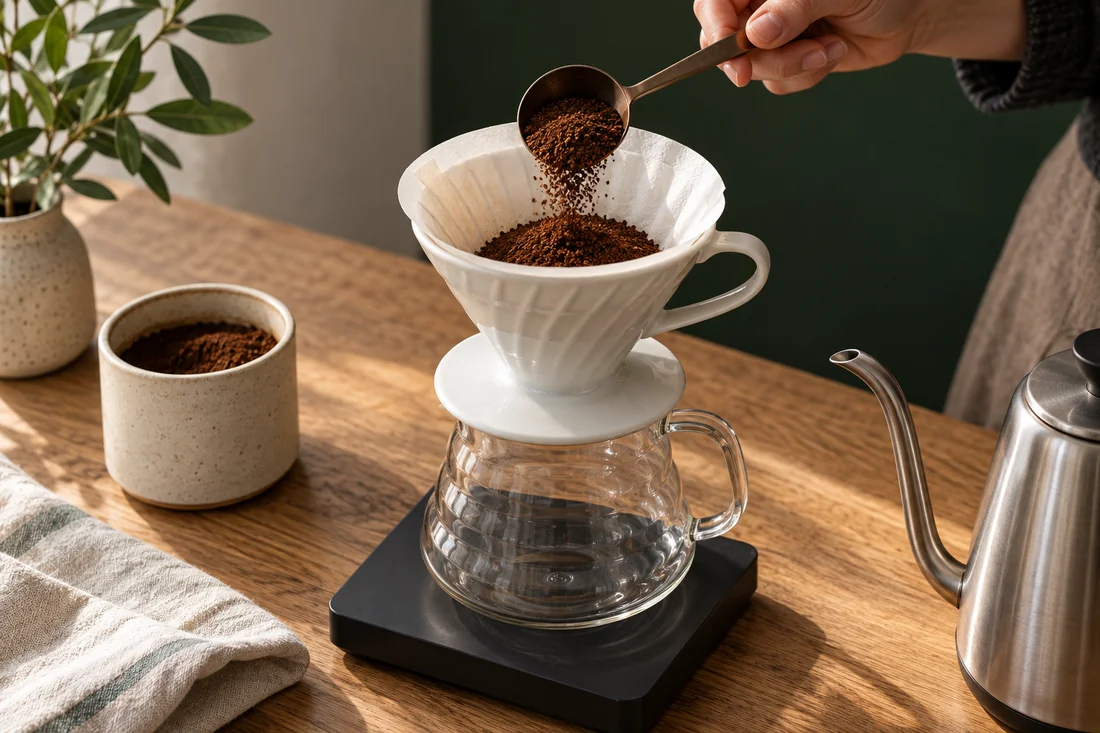
Grind 15 g Grind the coffee medium, add it and gently shake the filter until the bed is level. Tare the scales.
Help with this step
A level surface helps ensure even wetting.
Does water reach the edges?
Understand the technique03 / 04
Does water reach the edges?
A · What to observeThe whole bed darkens; no dry islands remain.
How to correct itWet remaining dry spots, then keep the planned pause.
Observe the pause
You start the motion. A shortened illustration, not a brewing timer.
03
Step 3 of 4
With 45 g allow to bloom
45 gTotal water on the scales
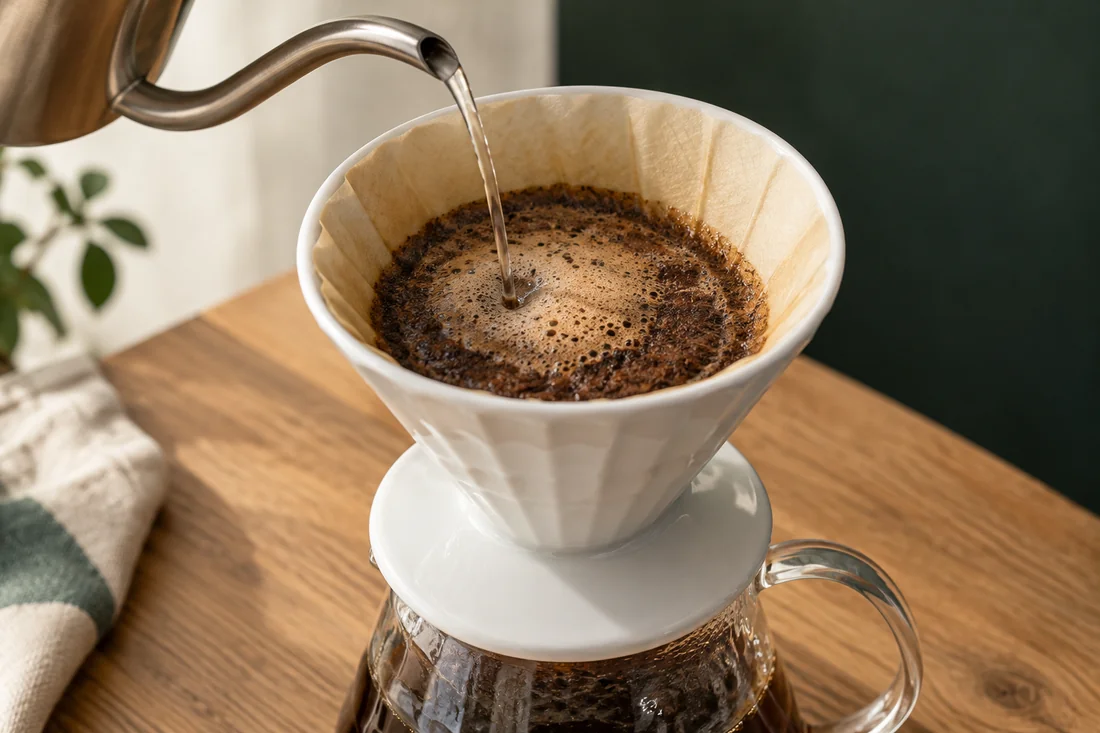
Start the timer and wet all the coffee with about 45 g Water. Wait approximately 30–45 seconds.
Help with this step
The 45 g already count towards the 250 g Total water.
Does the bed stay calm while pouring?
Understand the technique04 / 04
Does the bed stay calm while pouring?
A · What to observeCalm pours flow through the bed without churning it.
How to correct itPour calmly in the planned portions, then let it drain.
Swirl the carafe
You start the motion. A shortened illustration, not a brewing timer.
04
Step 4 of 4
On 250 g pour and let drain
250 gTotal water on the scales
Continue pouring in two or three steady portions until a total of 250 g of water has been reached. Let the filter drain, swirl the pot and taste after cooling briefly.
Help with this step
Note the brewing time, but decide by taste.
All steps completed
So, how does it taste?
Take your time tasting. If you want to change something, focus on one setting next time.
Schematic movement and illustrative AI images. Animations shorten the action; follow the quantities, wait times and safety guidance in the text.
If the flavour is not quite rounded yet
One change. A new attempt.
Sharp and thin, very fast flow
Grind slightly finer next time and keep the other variables the same.
Harsh and dry, water pools
Grind slightly coarser; also check paper placement and excessive agitation.
Why it works
The details behind the recipe.
What to expect in the cup
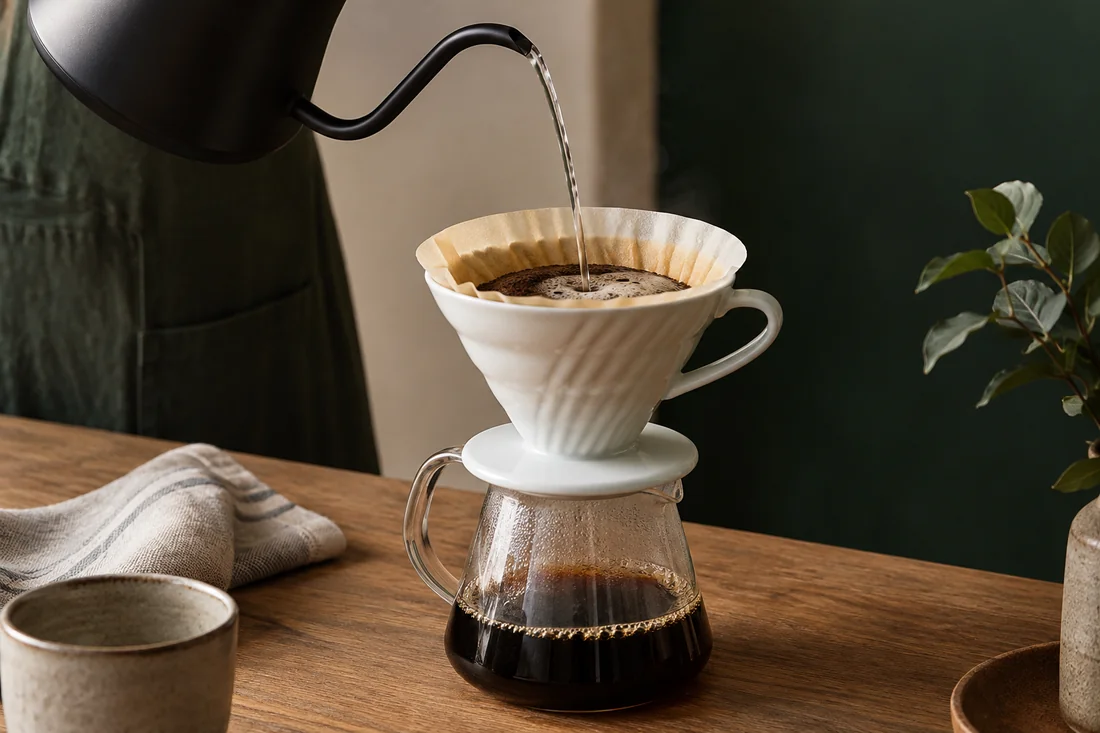
With the V60, you pour water by hand through a bed of coffee and a paper filter. Your pouring technique and grind affect how the brew flows and tastes. The paper retains many fine particles, usually giving the cup a clean character. Taste determines whether the recipe works. Brew time is a clue, not a quality seal.
Equipment and starting recipe
You need a V 60 with matching filter paper, a large enough cup or jug, scales, a timer and a kettle. A grinder makes adjustments easier. Pre-ground coffee works too, but then you cannot use grind size as a variable. A gooseneck kettle is nice to have, but it is no membership card to the coffee club.
To get started, use 15 grams of medium-ground coffee and 250 grams of water at around 92 to 94 degrees. This is a guide based on the manufacturer's recipe, not a universal rule. The water quantity means everything you pour in. Less ends up in the cup because the grounds retain water.
Step by step
Insert the paper, rinse it with hot water and discard the rinse water. Place the complete brewing vessel on the scales.
Add the coffee and shake the filter gently to level the surface. Zero the scales.
Start the timer and wet the coffee with about 45 grams of water. Try not to leave any dry patches.
Wait around 30 to 45 seconds. Then continue pouring in two or three gentle stages until you reach 250 grams in total.
Let the water drain, remove the filter and briefly swirl the jug. Taste the cup after it has cooled a little.
How to read the result
Record the total time on your first attempt, but do not chase a particular second. A suitable time for one coffee can be different for the next. Filter paper, roast, grinder and pouring technique all affect the process. A steady, repeatable pour is more useful at first than five different circular motions.
If the cup tastes sharp and thin and drains unusually quickly, try a slightly finer grind next time. If it tastes harsh and dry and the water pools for a long time, try a slightly coarser grind. These are clues, not an automatic diagnosis. Clogged paper or excessive agitation can also slow drainage.
Compare two grind settings
Brew twice with the same quantities and water temperature. Change only the grinder setting by one small step. Write down three words for each cup: how intense is it? How pleasant is the acidity? What does the aftertaste feel like? You do not need a professional flavour vocabulary. Rounded, juicy or dry is quite enough.
Keep the version you enjoy finishing. If neither suits you, return to the starting setting and check water and beans next. This builds a recipe that suits your kitchen, rather than a collection of conflicting tips.
After the cup
Dispose of the paper and grounds, rinse the filter and let it dry. With glass and ceramic, pay attention to temperature changes and stable surfaces. The next cup begins with clean equipment, not last week's deposits.
Frequently asked
Another question?
Do I need a special pot?
No. A controlled stream of water is enough to begin with. A pouring kettle makes repetition easier.
Why did 250 grams of water not produce 250 grams of drink?
Some stays in the grounds and filter. That is normal.