
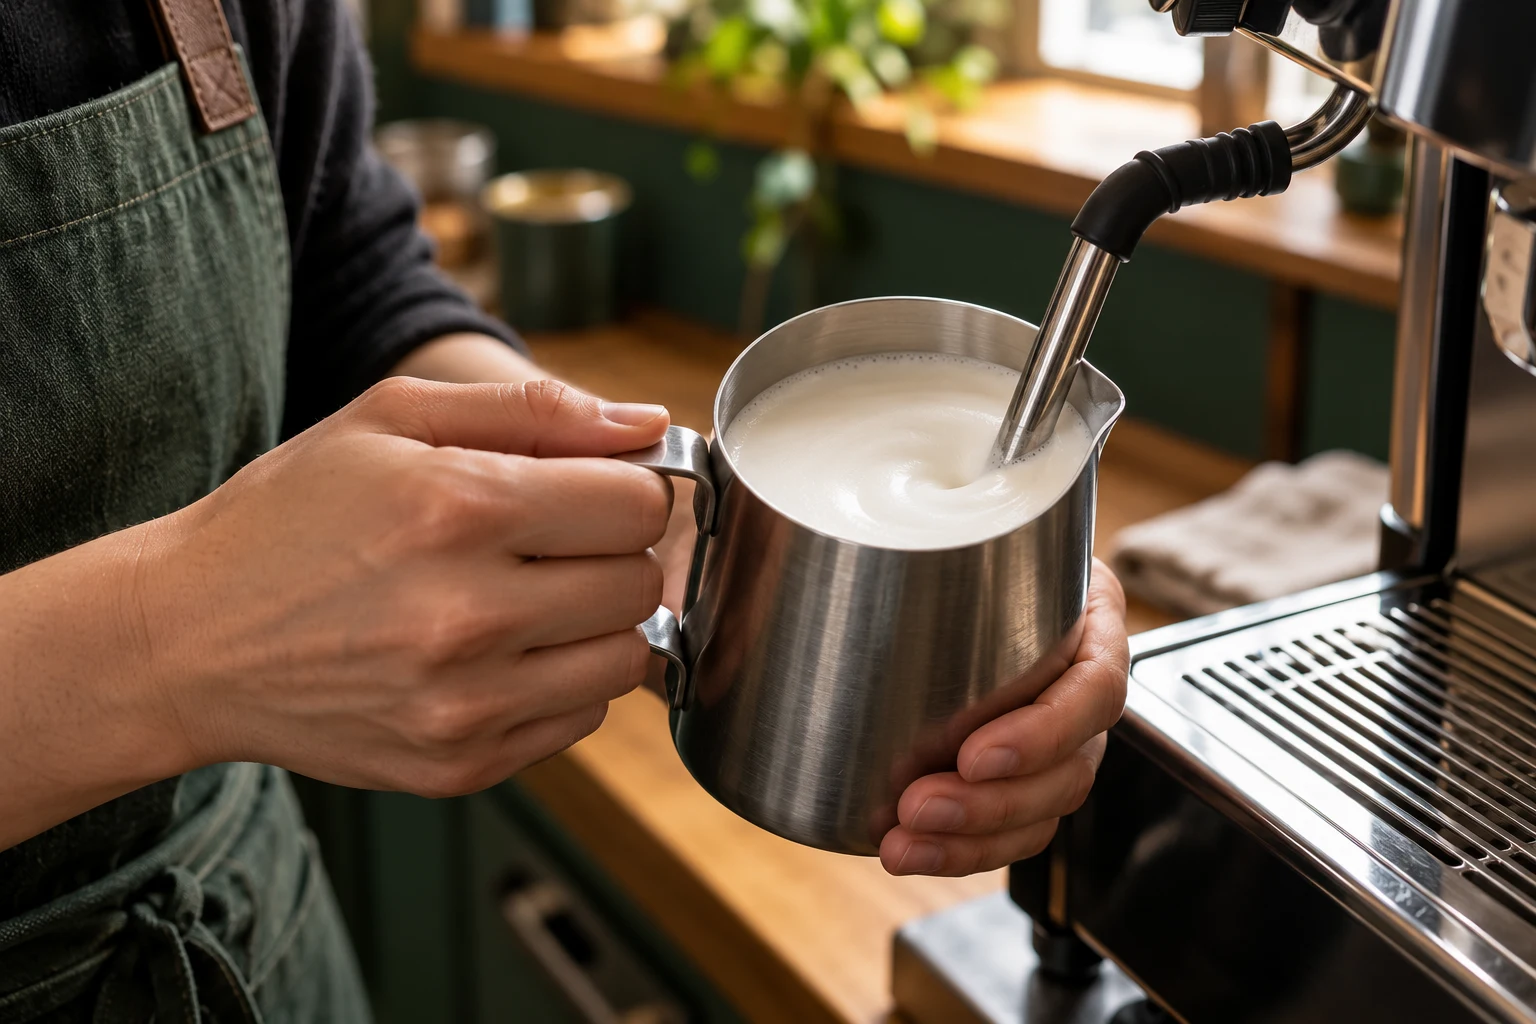
The foundation is in the milk jug
Latte Art is created by pouring finely textured milk into espresso. If firm chunks of foam separate from thin milk, drawing becomes difficult. So start with even microfoam rather than a rosetta. The surface should shine and flow when swirled. An elaborate pattern cannot make up for poor texture.
Use the same cup and amount of milk for your first attempts. A fairly wide cup opening gives you room. Do not pour almost everything in before you start drawing. You need some milk in reserve so a white area can actually form at the end. Have the espresso ready and avoid long waits after steaming.
Understanding two pouring heights
A thin stream poured from a little height first mixes the milk beneath the coffee surface. When you then bring the jug spout close to the surface and increase the flow appropriately, white foam can appear on top. This distinction matters more than fast wiggling. Without a visible patch, there is nothing to draw a heart from.
Tilt the cup slightly towards you so you can get the spout close enough. Hold the jug steady. Start in the centre and watch what the stream does. Your movement need not match someone else’s exact centimetre measurements: cup shape, jug and fill level change the geometry.
A heart in three movements
First create a mixed base with a steady, thin stream. Then lower the spout close to the surface so that a round white patch grows. Bring the cup upright as it fills. To finish, lift the spout a little, reduce the flow and draw a thin stream through the white patch.
The first result is allowed to resemble a potato. Check three points in the process: did a white area appear? Was there enough milk left in the pitcher? Was the finishing stream thin? For the next attempt, choose the point that did not work. That gives you a specific skill to practise, while a blanket “I can’t do this” explains very little.
What your result tells you
If everything stays brown, the spout may have been too high when drawing, or the milk too thin. If a large white blob appears immediately, the foam was probably too stiff or the flow too abrupt. If the heart is crooked, first check whether you are pouring into the centre and bringing the cup upright evenly. Change only one of these points per attempt.
Photograph a small series from the same perspective. Add a brief note on texture, not just the pattern. This helps you see whether your main challenge lies in steaming or pouring. Taste the drink too. A delicious cappuccino without perfect symmetry is still a good cappuccino.
Practise without excessive equipment
Practise with the drinks you are making anyway. You do not need to drink ten extra espressos to learn a movement. Take time between attempts and follow a clear sequence: texture, white patch, finishing line. Only then are multiple leaves or complex shapes worthwhile. Speed comes with repetition, not rushing.