
Texture first, pattern second
For a creamy milk coffee, you want an even mixture of warm milk and very small air bubbles. Large bubbles on hot milk look like plenty of foam but combine poorly with espresso. Look for a glossy, flowing surface. When swirled, it should move around the jug as one cohesive liquid.
Use cold, fresh milk and a clean jug sized to suit the portion. Too little milk in a large jug is hard to control; too much leaves no room for expansion. Follow the fill mark or your machine’s recommendation. Different steam wands respond at different speeds, so a fixed number of seconds rarely transfers from one to another.
The steam-wand process
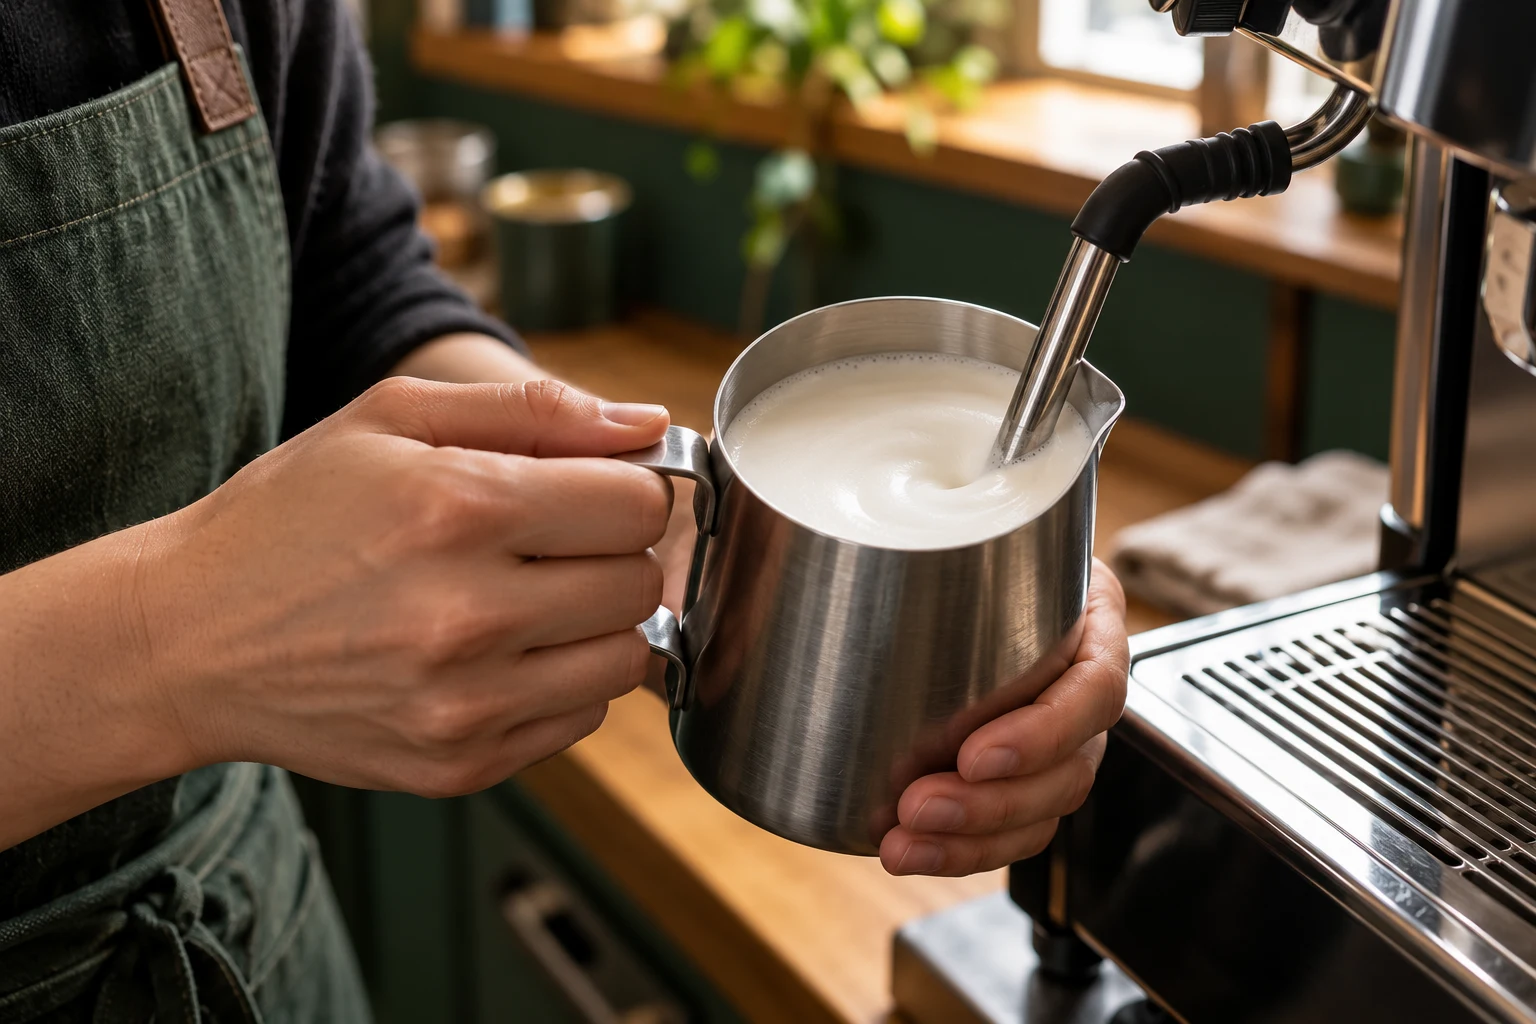
Briefly purge condensation into the drip tray as instructed by the machine’s manual, keeping your hands clear of the steam jet. Place the tip just below the milk surface and turn on the steam. Introduce a controlled amount of air here first. Then immerse the tip a little deeper and maintain a steady rolling motion. This distributes the air through the milk rather than building a separate layer of foam on top.
Turn the steam off before removing the tip from the milk. Hot milk and steam can splash. Immediately wipe the wand with a clean, damp cloth reserved exclusively for this purpose, and briefly purge it following the manufacturer’s instructions. These steps belong to preparation, not just the big clean at the end of the day.
Check temperature and quantity
If you practise with roughly 55 to 65 degrees for milk ready to serve, start at the lower end and follow the guidance for the product and machine. The linked guide favours a lower temperature for stable foam. A suitable thermometer is more useful at first than testing your nerve with a hand on hot metal. Milk does not need to boil for a warm cappuccino; overheating improves neither texture nor flavour.
Where possible, steam only the amount you need straight away. Do not repeatedly mix leftover heated milk with fresh milk and reheat it. Plan smaller portions and maintain the cold chain. This reduces waste and makes clean working easier. Commercial operations must also follow their hygiene plan and equipment-specific requirements.
Three common mistakes
Large bubbles often suggest that air was introduced for too long or too unevenly. Next time, spend less time aerating at the surface, then work on a steady rolling motion. A very stiff lump of foam is likewise more likely to be an issue with the amount of air than a missing latte-art trick.
If the milk stays almost liquid, the tip may have been too deep from the start. Move it only slightly on your next attempt. If a whirlpool does not form, try positioning it a little to one side of the jug. Once you find the right movement, hold it steady. Constant raising and lowering makes the process hard to follow.
Give the finished milk a quick swirl and pour promptly. It increasingly separates if left standing. A light tap can remove individual large bubbles, but cannot replace good texture. First practise making an evenly creamy drink. The picture on top comes later.