The guide · Vacuum

Siphon

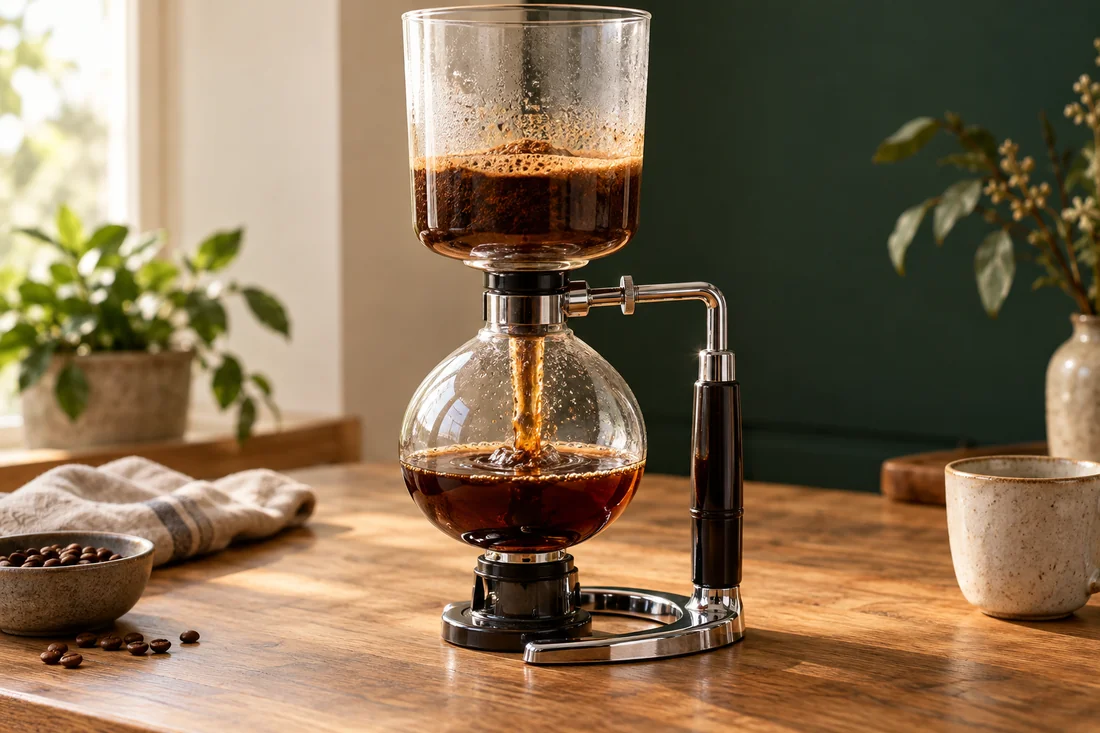
Water rises, coffee steeps above, and the finished brew flows back through the filter.

Recipe, techniques and troubleshooting. All on one page.

Vacuum — illustrative image

Your starting recipe

Your cup starts here.

A starting point for your beans and your taste.

Coffee
24 g
Water
360 g
Grind setting
medium
Contact in the upper chamber
approx. 1 min as a guide

Quantities adjust in the steps too. Do not simply scale brewing time and grind; observe equipment size.

What you need

Have these ready.

Tick off what is ready. You can start at any time.

Now it is time to make coffee

How it works.
Step by step.

Get an overview first. Then work through each action at your own pace.

Coffee
24 g
Water
360 g
Stopwatch00:00

The stopwatch starts only when you tap Start. It continues counting across page changes if your browser allows storage. No alarm.

Understand the technique

Is the filter secured in the upper chamber?

Syphon: Prepare the filter – illustrated techniquePrepare the filter according to instructions, secure it in the upper section and check its fit.ACorrectly seated

A · What to observeThe specified filter is prepared and secured.

Check the fit
100 %

You start the motion. A shortened illustration, not a brewing timer.

01

Step 1 of 6

Prepare the filter

Prepare the filter according to instructions, secure it in the upper section and check its fit.

Understand the technique

Is the lower chamber within its fill limit?

Syphon: Fill with water and assemble – illustrated techniqueFill the lower chamber with the permitted quantity of water and assemble the brewer following the manufacturer’s instructions.AFollow the mark

A · What to observeWater is in the lower chamber within the equipment limit.

Observe the fill limit
100 %

You start the motion. A shortened illustration, not a brewing timer.

02

Step 2 of 6

Fill with water and assemble

Fill the lower chamber with the permitted quantity of water and assemble the brewer following the manufacturer’s instructions.

Help with this step

Your model’s assembly instructions and fill limit take priority.

Understand the technique

Where does the water rise?

Syphon: Let the water rise – illustrated techniqueHeat with the approved heat source and watch the water rise.AFrom lower to upper

A · What to observeWater moves from the lower to the upper chamber.

Watch the rise
100 %

You start the motion. A shortened illustration, not a brewing timer.

03

Step 3 of 6

Let the water rise

Heat with the approved heat source and watch the water rise.

Understand the technique

Are the grounds fully wet in the upper chamber?

Syphon: Wet the coffee in the upper chamber – illustrated techniqueAdd the coffee to the upper chamber at the intended time and wet it fully with a few gentle stirs.AWet inside

A · What to observeA few gentle movements wet all the grounds.

Wet all the grounds
100 %

You start the motion. A shortened illustration, not a brewing timer.

04

Step 4 of 6

Wet the coffee in the upper chamber

Add the coffee to the upper chamber at the intended time and wet it fully with a few gentle stirs.

Understand the technique

Is heat removed before drawdown?

Syphon: Remove the heat and wait for drawdown – illustrated techniqueKeep to your planned steeping time, safely remove or switch off the heat source and wait for the drawdown.AHeat off, drawdown

A · What to observeAfter steeping, heat is off and coffee returns through the filter.

Wait for the drawdown
100 %

You start the motion. A shortened illustration, not a brewing timer.

05

Step 5 of 6

Remove the heat and wait for drawdown

Keep to your planned steeping time, safely remove or switch off the heat source and wait for the drawdown.

Help with this step

The timer is only meaningful if you always choose the same starting point.

Understand the technique

Can the hot parts be separated safely?

Syphon: Separate safely and serve – illustrated techniqueSeparate hot parts only in the prescribed way. Serve only once the device can be handled safely.AWait for cooling

A · What to observeHot parts are handled only at the intended gripping points.

Serve carefully
100 %

You start the motion. A shortened illustration, not a brewing timer.

06

Step 6 of 6

Separate safely and serve

Separate hot parts only in the prescribed way. Serve only once the device can be handled safely.

Help with this step

Handle hot glass parts only in the specified way.

Schematic movement and illustrative AI images. Animations shorten the action; follow the quantities, wait times and safety guidance in the text.

If the flavour is not quite rounded yet

One change.
A new attempt.

Return flow stalls

Only check the filter, assembly and grind once everything has cooled completely.

Burnt flavour

Check residues and heat input; do not heat for longer.

Why it works

The details behind the recipe.

What moves between the chambers

In a siphon brewer, a pressure difference moves water between two glass chambers. Heating makes it rise from the lower chamber to the upper one, where it meets the coffee. Once the heat is removed, the lower chamber cools and coffee flows back through the filter. The visible process calls for attention to hot glass, the heat source and a stable setup.

Calm preparation

Check both glass parts for damage and use only the intended heat source and suitable filters. Provide a stable, heatproof surface. Burners, hot glass and liquid do not belong at the edge of a table. A syphon is not a method you should leave the room during.

Hario gives a guideline of 24 grams of medium-ground coffee to 360 grams of water and approximately one minute of contact time in the upper chamber. Check that this amount suits your model. Refer to its instructions for specific assembly, burner handling and filter preparation.

An organised process
  1. Prepare the filter according to instructions, secure it in the upper section and check its fit.
  2. Fill the lower chamber with the permitted quantity of water and assemble the brewer following the manufacturer’s instructions.
  3. Heat with the approved heat source and watch the water rise.
  4. Add the coffee to the upper chamber at the intended time and wet it fully with a few gentle stirs.
  5. Keep to the planned steeping time, safely remove or switch off the heat source, and wait for the drawdown to finish.
  6. Separate hot parts only in the prescribed way. Serve only once the device can be handled safely.
What to document

Record dose, water, when the coffee is added and steeping time. The timer is meaningful only if you always start at the same point. Two recipes can both say one minute yet mean different contact times.

For comparison, you can make a small grind adjustment on the next run. Keep heat input and stirring as similar as possible. Frantic agitation of the bed makes the process harder to assess. The most exciting part is the cup afterwards, rather than the spectacular swirl.

If the drawdown stalls

Once fully cooled, check the filter, assembly and grind. Do not press on hot glass or try to force a blocked system apart while hot. A dirty or incorrectly fitted filter can cause what appears to be a recipe problem.

For burnt flavours, look at residue and heat input. If instead you simply notice too little intensity, check the quantity calculation first. An arbitrary longer heating phase is no reliable correction.

The filter needs care

Cloth filters have their own care requirements and can absorb odours. Hario describes thorough rinsing and damp storage in the fridge for its cloth filters. Follow your filter’s instructions and replace it if its smell or condition seems unusual. Suitable paper filters are an alternative, depending on the system. Let glass cool completely before you start cleaning.

Frequently asked

Another question?

Is a syphon easier than pour-over?

Not necessarily. It requires more setup, attention and filter care.

Can I use any burner?

No. Use only the heat source specified for your equipment.

Sources & further reading

Related to this topic

Explore another paperless method

If you are interested in brewing without paper, read the porcelain method. Filter fit and care are part of the recipe there too.

Porzellanmethode entdecken ↗

Your coffee helper

Coffee Bro.

I help you brew, find coffee knowledge and show you what is on the menu. Your questions stay here in your browser.

Local content & guided help · no connected language model