The guide · Espresso

Portafilter espresso

Dose, beverage yield and time make the next shot repeatable.

Recipe, techniques and troubleshooting. All on one page.

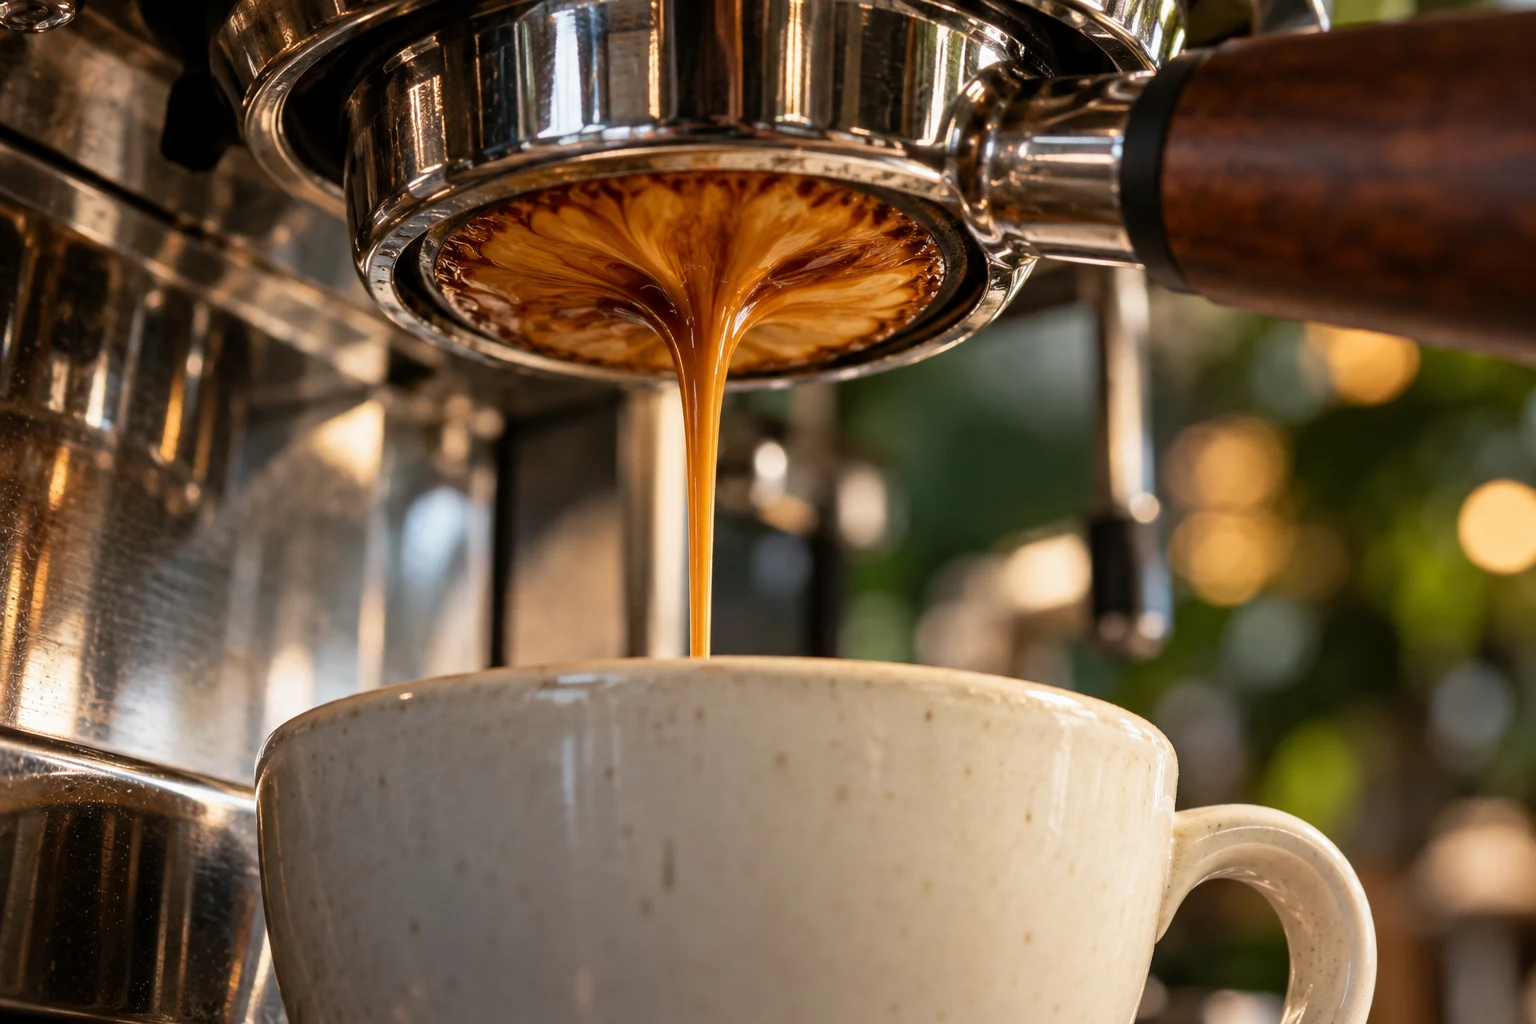
Espresso – illustrative image

Your starting recipe

Your cup starts here.

A starting point for your beans and your taste.

Dose
18 g, if the basket fits
In your cup
approx. 36 g to start
Ratio
1:2
Extraction
Around 25–35 s as a guide

What you need

Have these ready.

Tick off what is ready. You can start at any time.

Brew Studio: try each movement

Understand each move

Your Brew Studio.

Play each movement separately. Quantities and instructions stay visible; you set the pace.

EspressoYou start
Dry the basket and dose.Schematic cross-section. Instructions and quantities are shown below and beside the illustration. 0 g 01 / Dose
Coffee0 g

Condensed illustration · 7 s per step, not actual brewing time

Step 1 / 6

Dry the basket and dose.

Dry the clean basket. Add 18 g of freshly ground coffee if this dose suits your basket.

Watch for

Basket size determines the dose. 18 g is not a universal requirement.

Dose, only if the basket fits
18 g
Target drink weight
36 g
Ratio
1:2
Time as a guide
25–35 s

Now it is time to make coffee

How it works.
Step by step.

Get an overview first. Then work through each action at your own pace.

Dose
18 g, if the basket fits
In your cup
approx. 36 g to start
Stopwatch00:00

The stopwatch starts only when you tap Start. It continues counting across page changes if your browser allows storage. No alarm.

Understand the technique

Is the clean basket dry?

Portafilter espresso: Dry the basket and dose – illustrated techniqueDry the clean basket and weigh the appropriate amount of freshly ground coffee into it.AClean and dry

A · What to observeNo remaining water beneath the weighed coffee dose.

Check the basket size
100 %

You start the motion. A shortened illustration, not a brewing timer.

01

Step 1 of 6

Dry the basket and dose

Dry the clean basket and weigh the appropriate amount of freshly ground coffee into it.

Help with this step

Basket size determines whether 18 g makes sense at all.

Understand the technique

Where are the gaps in the grounds?

Portafilter espresso: Distribute the grounds – illustrated techniqueDistribute the grounds evenly. Large mounds and gaps should disappear before tamping.AEvenly distributed

A · What to observeEven distribution closes large gaps before tamping.

Level the surface
100 %

You start the motion. A shortened illustration, not a brewing timer.

02

Step 2 of 6

Distribute the grounds

Distribute the grounds evenly. Large mounds and gaps should disappear before tamping.

Understand the technique

Is the tamp level?

Portafilter espresso: Tamp straight – illustrated techniqueTamp level and evenly. Clear loose particles from the rim.ALevel surface

A · What to observeThe compacted surface is level relative to the basket rim.

Clean the rim
100 %

You start the motion. A shortened illustration, not a brewing timer.

03

Step 3 of 6

Tamp level

Tamp level and evenly. Clear loose particles from the rim.

Understand the technique

Is yield measured in the cup?

Portafilter espresso: Start the shot – illustrated techniqueLock in the portafilter, place the cup on scales and start the extraction. Record the point from which you count the time.ACup on scale

A · What to observeCup on scale; the timing start point is deliberately chosen.

Start the shot
100 %

You start the motion. A shortened illustration, not a brewing timer.

04

Step 4 of 6

Start the shot

Lock in the portafilter, place the cup on scales and start the extraction. Record the point from which you count the time.

Help with this step

The 36 g refers to the finished drink, not brewing water.

Understand the technique

Does coffee keep dripping after stopping?

Portafilter espresso: Stop at the target yield – illustrated techniqueStop close to your target yield. Depending on the machine, a little more may continue to flow.AAllow for drips

A · What to observeThe amount in the cup can rise after stopping.

Allow for drips
100 %

You start the motion. A shortened illustration, not a brewing timer.

05

Step 5 of 6

Stop at the target yield

Stop close to your target yield. Depending on the machine, a little more may continue to flow.

Understand the technique

Can you reconstruct this attempt?

Portafilter espresso: Stir, taste and record – illustrated techniqueStir the espresso and taste after it cools briefly. Note quantity, time and flavour.AYield · time · taste

A · What to observeYield, time and taste are recorded together.

Record yield and time
100 %

You start the motion. A shortened illustration, not a brewing timer.

06

Step 6 of 6

Stir, taste and record

Stir the espresso and taste after it cools briefly. Note quantity, time and flavour.

Help with this step

Time is a clue; taste decides.

Schematic movement and illustrative AI images. Animations shorten the action; follow the quantities, wait times and safety guidance in the text.

If the flavour is not quite rounded yet

One change.
A new attempt.

Very fast, sharp extraction

Check distribution and grind slightly finer for the next shot.

Prolonged dripping and a harsh taste

Grind a little coarser; change only one variable at a time.

Why it works

The details behind the recipe.

The three numbers that help you

For repeatable espresso, you need three measurements: the dry dose in the basket, the weight of the finished drink and the shot time. Also record when timing begins. This makes comparisons between shots meaningful. Weigh the drink in grams; crema makes a volume reading in millilitres less reliable.

A starting point, not an exam

For a basket suitable for this amount, you can start with 18 grams of coffee and 36 grams of drink. That is a ratio of 1:2. La Marzocco gives a similar combination as a guide. The often quoted roughly 25 to 35 seconds is a broad range, not proof of good flavour. Pre-infusion functions also change how times can be compared.

The machine must be ready for use and thoroughly warmed through according to the instructions. Check the basket size, cleanliness and secure fit. The group head is hot. Use the handles and remove the portafilter only once the shot has finished and pressure has been released according to the machine's instructions.

Step by step
  1. Dry the clean basket and weigh the appropriate amount of freshly ground coffee into it.
  2. Distribute the grounds evenly. Large mounds and gaps should disappear before tamping.
  3. Tamp level and evenly. Clear loose particles from the rim.
  4. Lock in the portafilter, place the cup on scales and start the extraction. Record the point from which you count the time.
  5. Stop close to your target yield. Depending on the machine, a little more may continue to flow.
  6. Stir the espresso and taste after it cools briefly. Note quantity, time and flavour.
The first adjustment

If the target yield rushes into the cup and tastes sharp, a small step finer may help. If the extraction drips for a long time and tastes harsh, slightly coarser may make sense. With uneven flow, check distribution first. Grinding even finer can create new problems when a puck is poorly prepared.

If the flow remains even but the cup is too sour, try increasing the beverage yield slightly in a separate experiment. If it becomes more pleasant, that is a useful clue. If an extended shot is excessively bitter and thin, stopping earlier may be a better direction. Change only one parameter at a time.

Coffee is allowed to taste different

Force will not turn a fruity light roast into a dark Italian espresso. Look at the bean description and your preferences. If you want a chocolatey style with restrained acidity, suitable beans often help more than increasingly extreme settings.

A fixed place for each step

Place your scales, cloth and tamper where you will not need to search for them for every shot. Two carefully prepared repetitions tell you more than one spectacular shot. Clean the basket and brewing area using the specified procedure. Backflushing is suitable only for machines designed for it.

Frequently asked

Another question?

Are 30 seconds always right?

No. Compare time only alongside dose, beverage yield, pre-infusion and flavour.

Why stir?

The components of the extraction collect in sequence. Stirring makes the first sip more representative.

Sources & further reading

Related to this topic

Two shots, clear measurements

Weigh the dose and finished drink for two shots prepared the same way. Then compare time and taste.

Dosis und Getränk unterscheiden ↗

Your coffee helper

Coffee Bro.

I help you brew, find coffee knowledge and show you what is on the menu. Your questions stay here in your browser.

Local content & guided help · no connected language model