01 · Basics
A good beginning.
Three things that help you understand your recipe and adjust it deliberately.
 COFFEE BROTHERSWORMS · OBERMARKT 8Order ↗
Coffee Brothers Coffee Academy
Find your recipe. Understand the steps. Turn “quite okay” into a cup you look forward to.
16 guides · From technique to cup
Choose your brewer or occasion. Recipe, pictures and steps belong together.
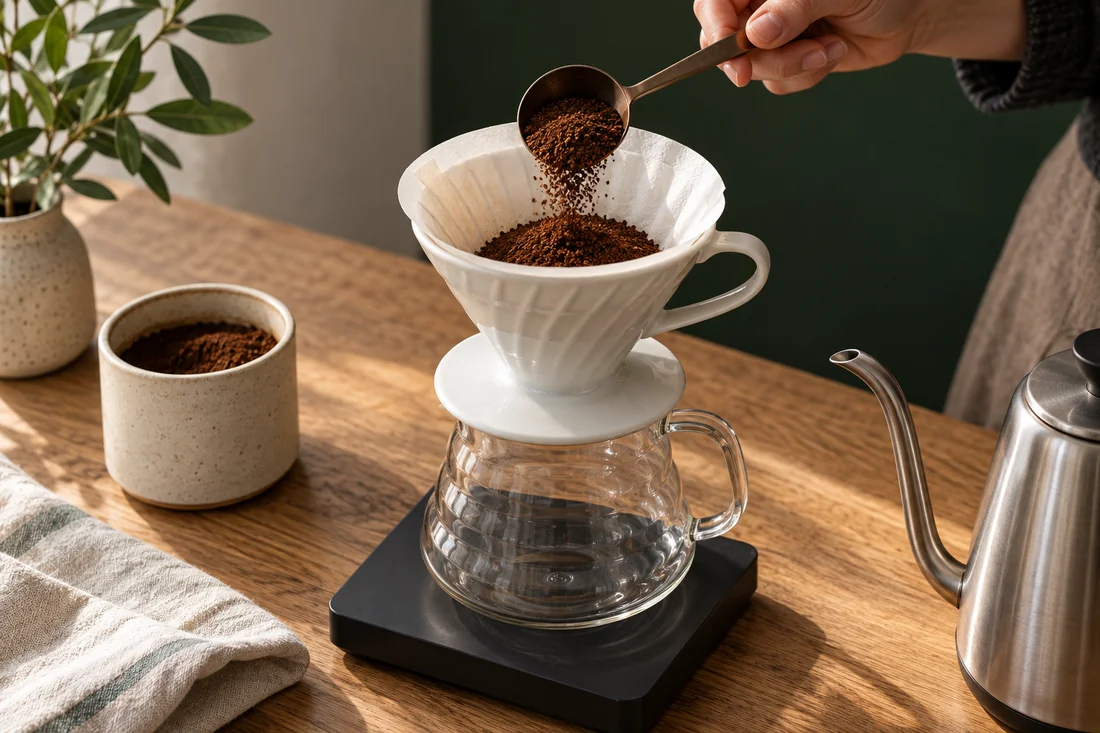
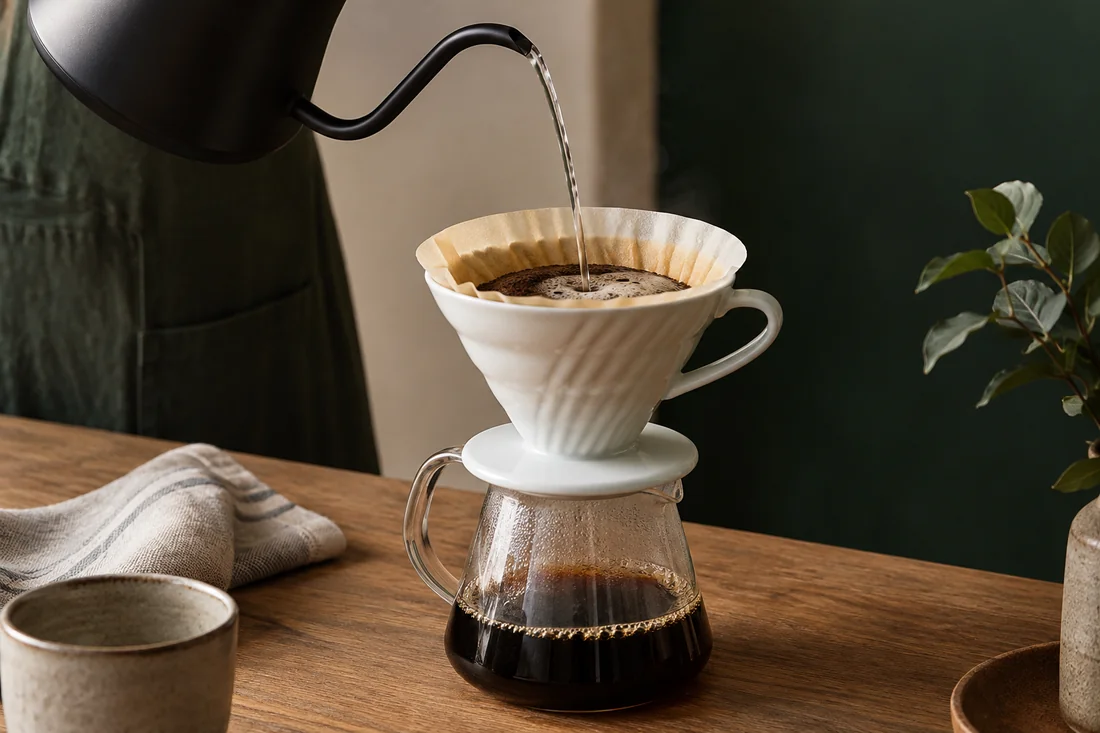
Paper filter, scales, steady pouring. You control every movement.
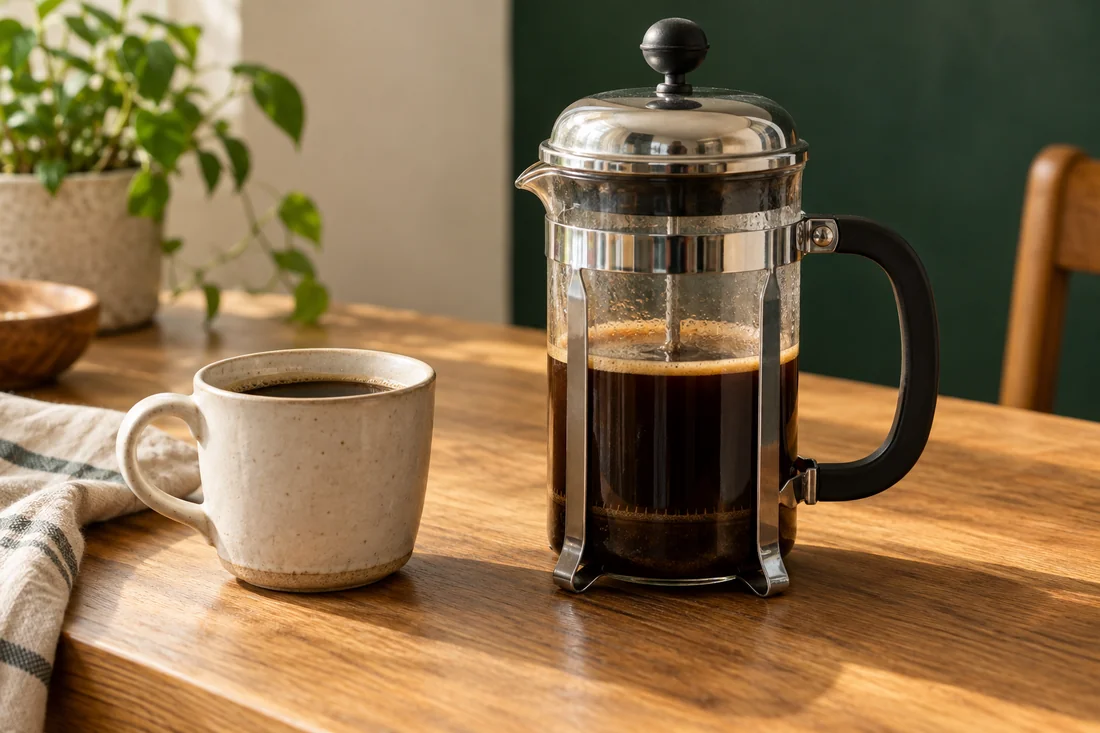
Steep together, press gently and pour straight away.
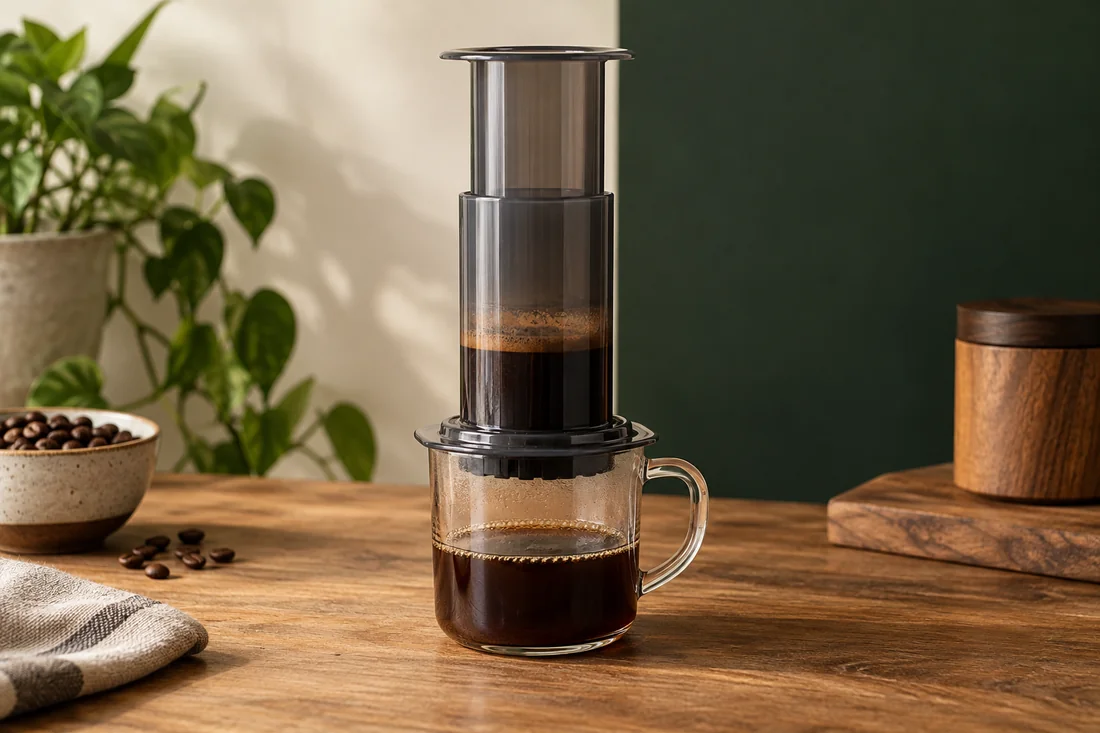
Brew upright, steep briefly and press slowly.
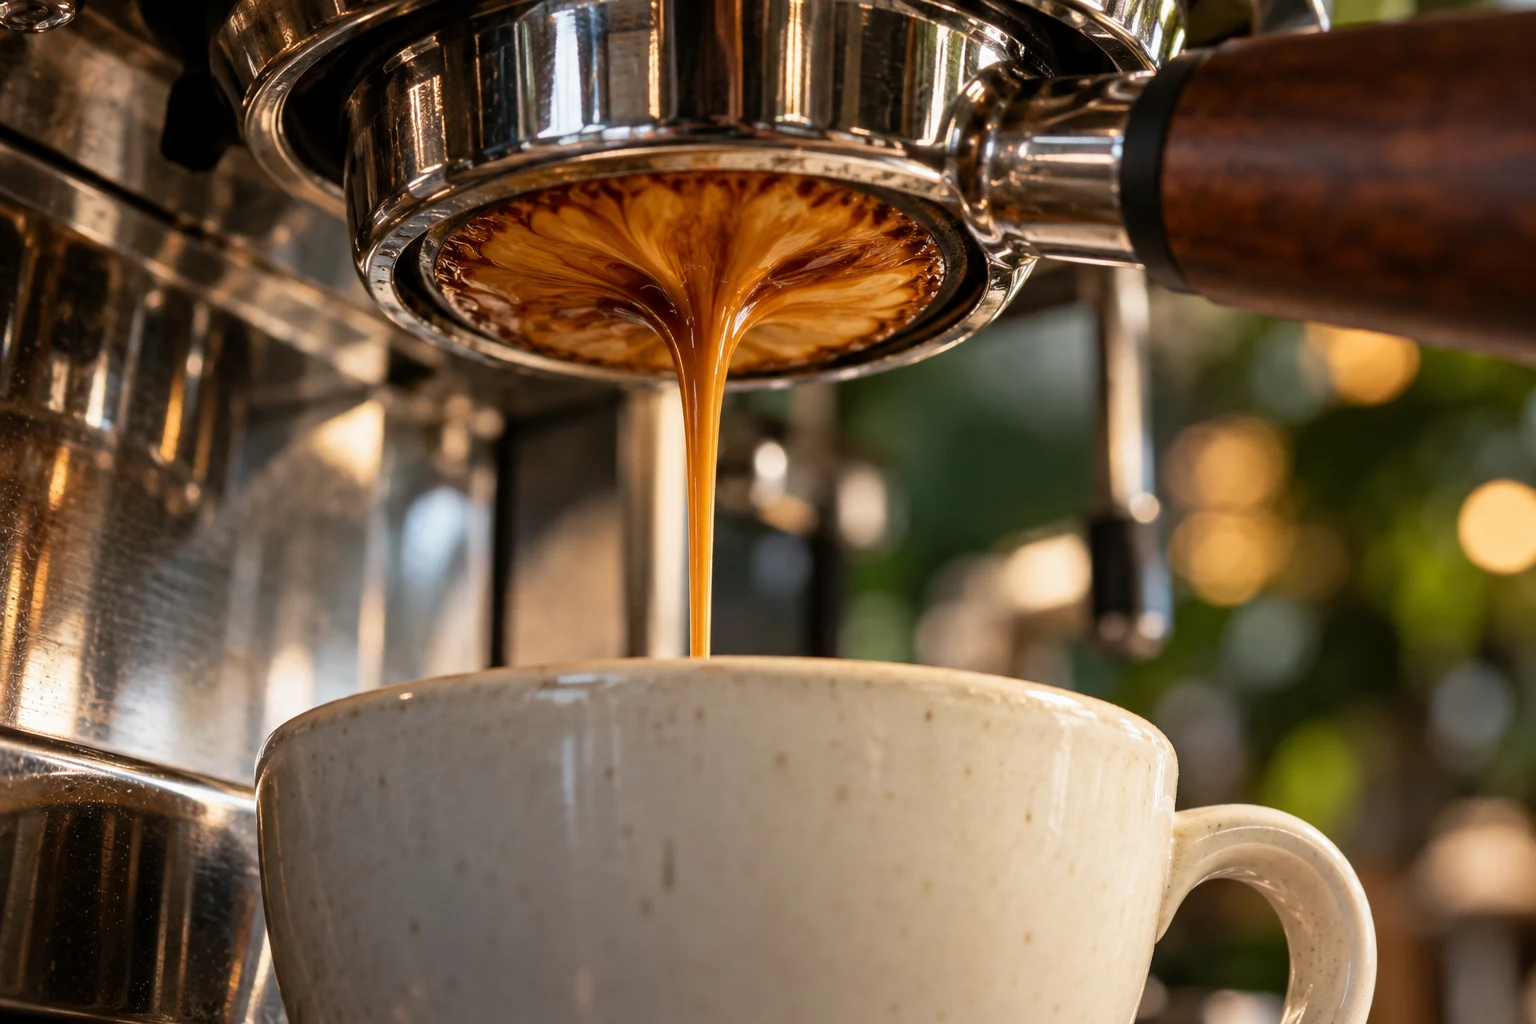
Dose, drink yield and time for a repeatable shot.
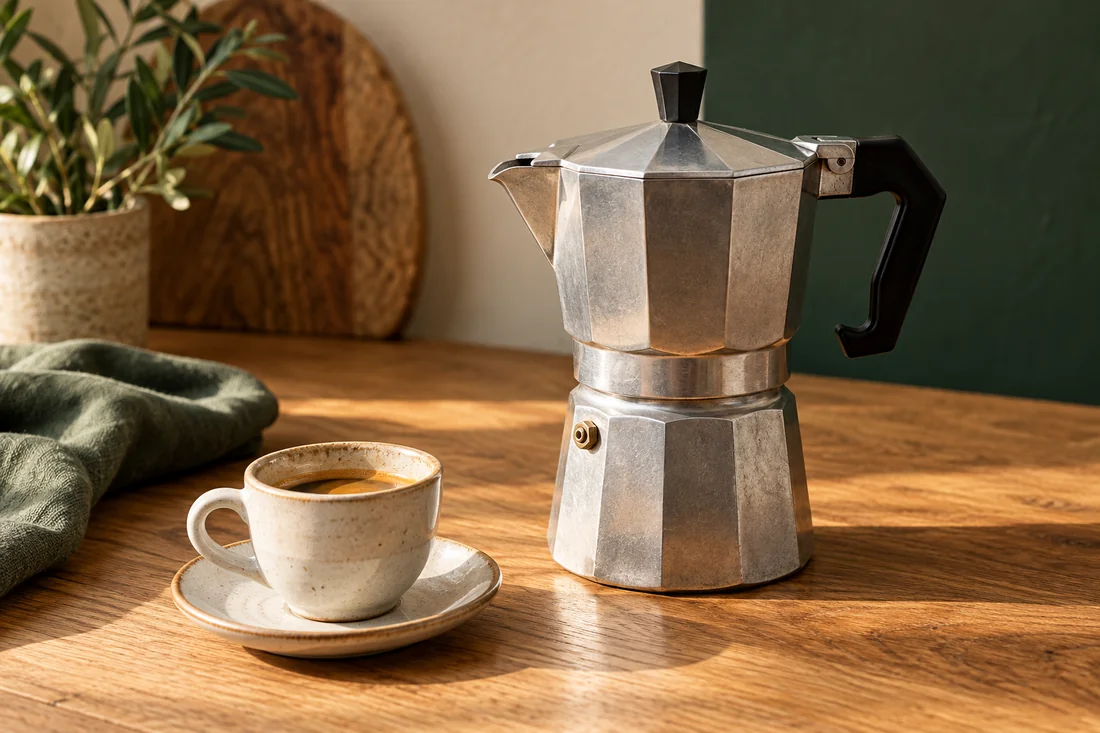
Strong coffee from the hob. No tamping, moderate heat.
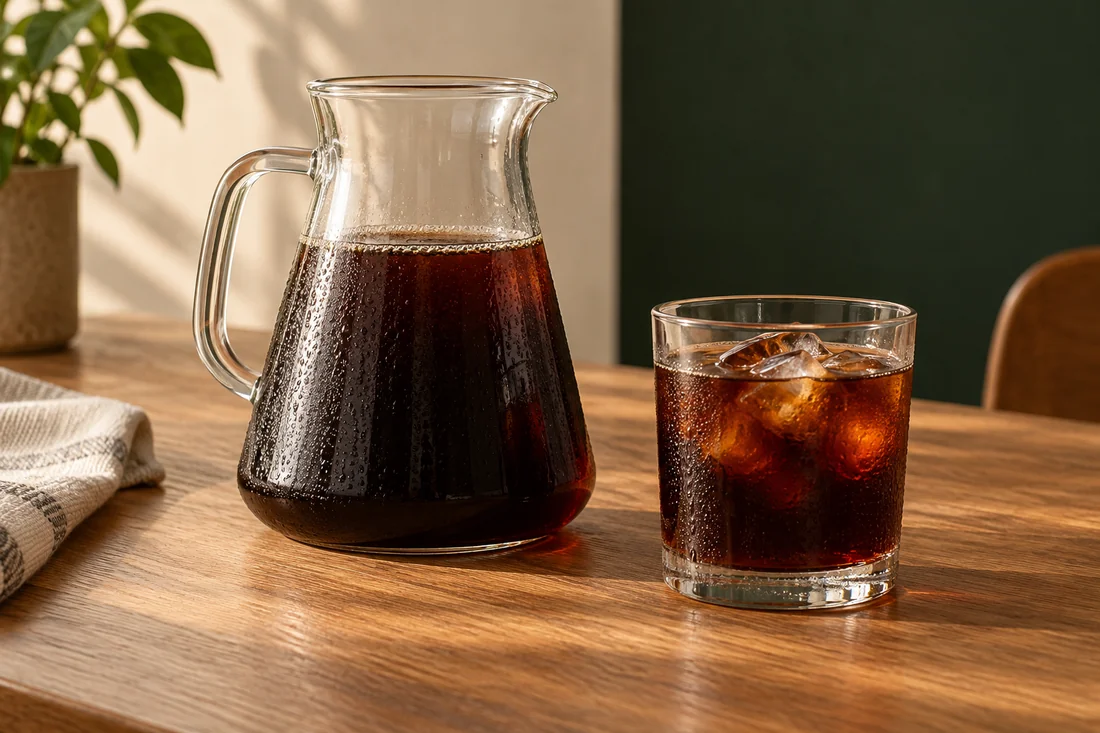
Start with cold water, steep in the fridge and filter carefully.
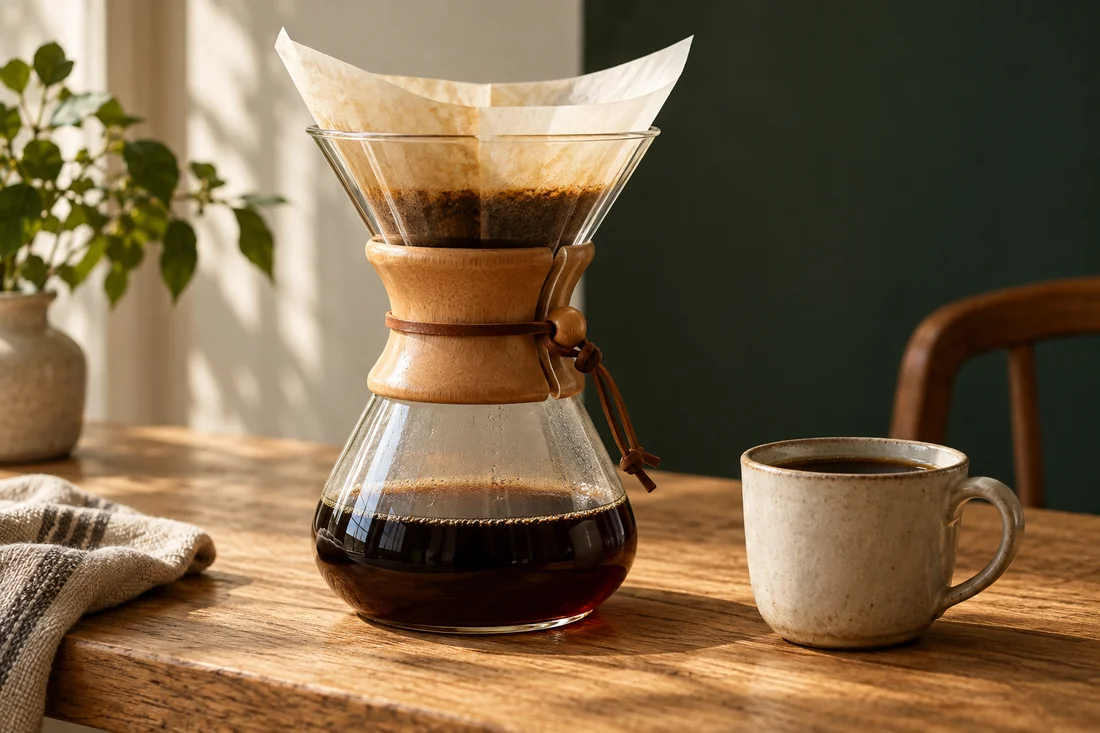
Fit the paper correctly. Pour evenly. Share the jug.
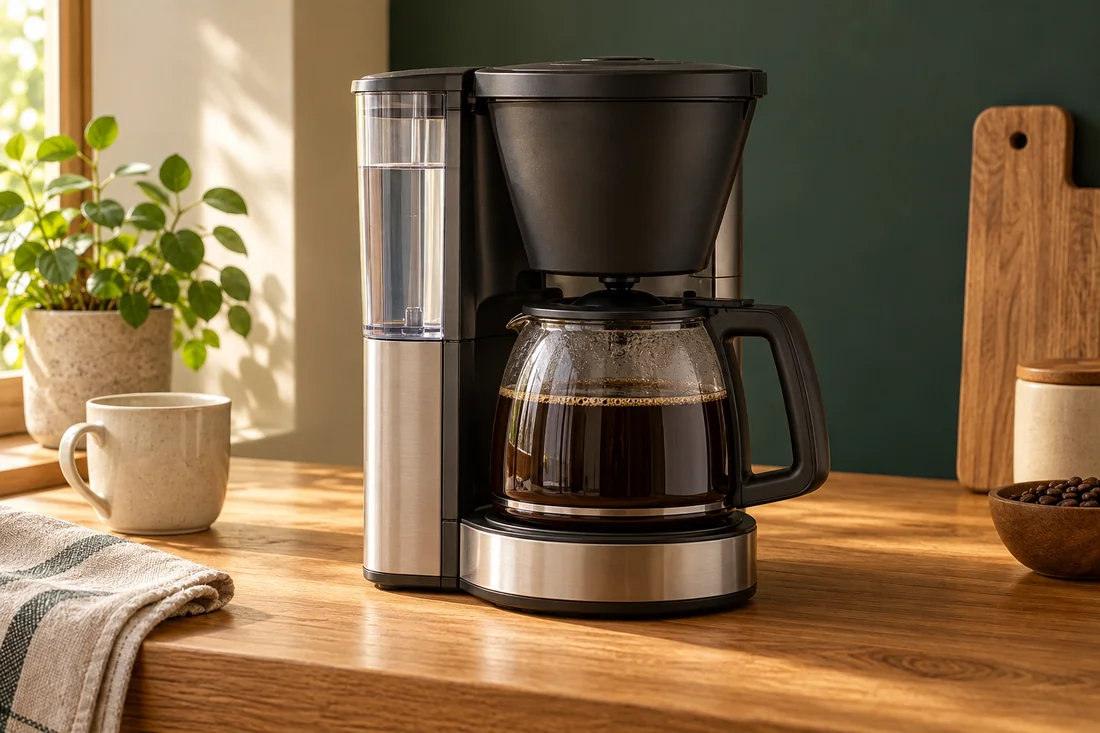
Weigh coffee and water. The machine takes care of the rest.
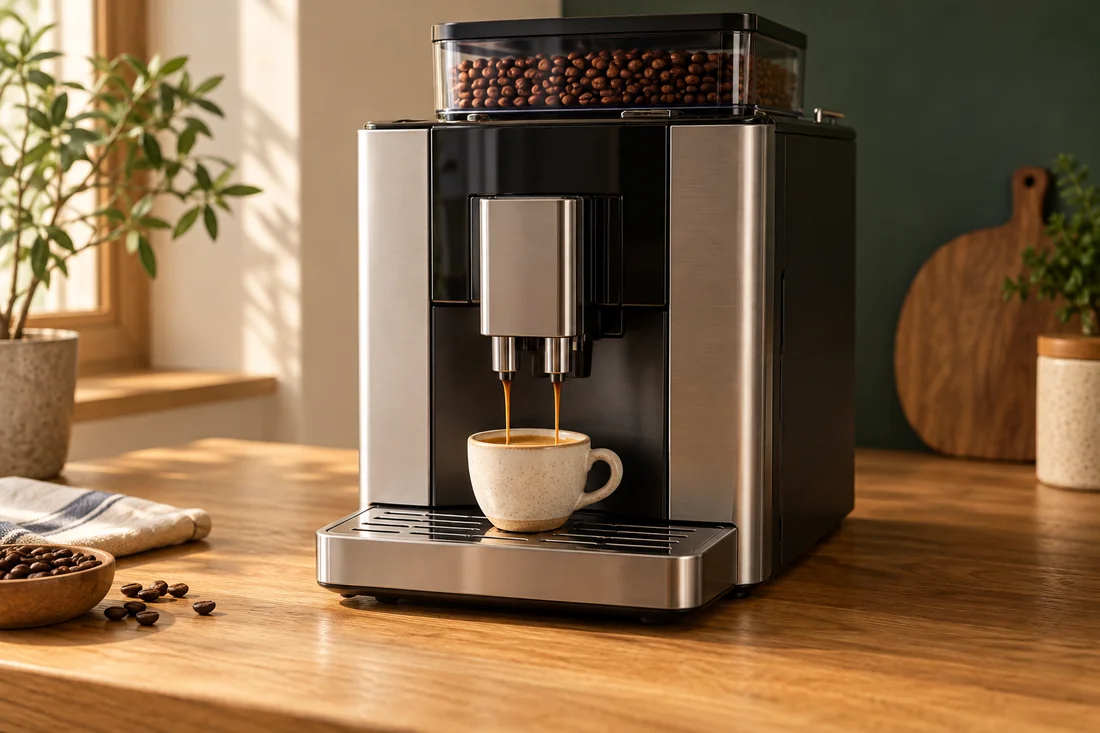
Adjust strength, quantity and grind individually to your taste.
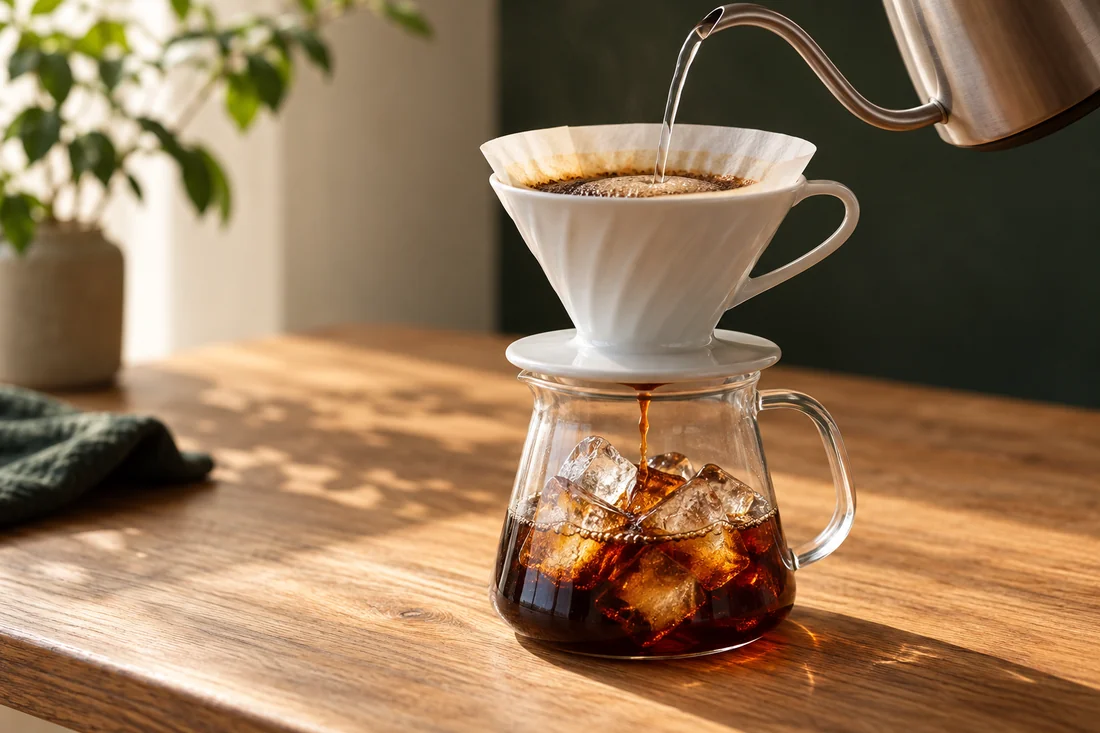
Brewed hot, cooled straight away. The ice is part of the recipe.
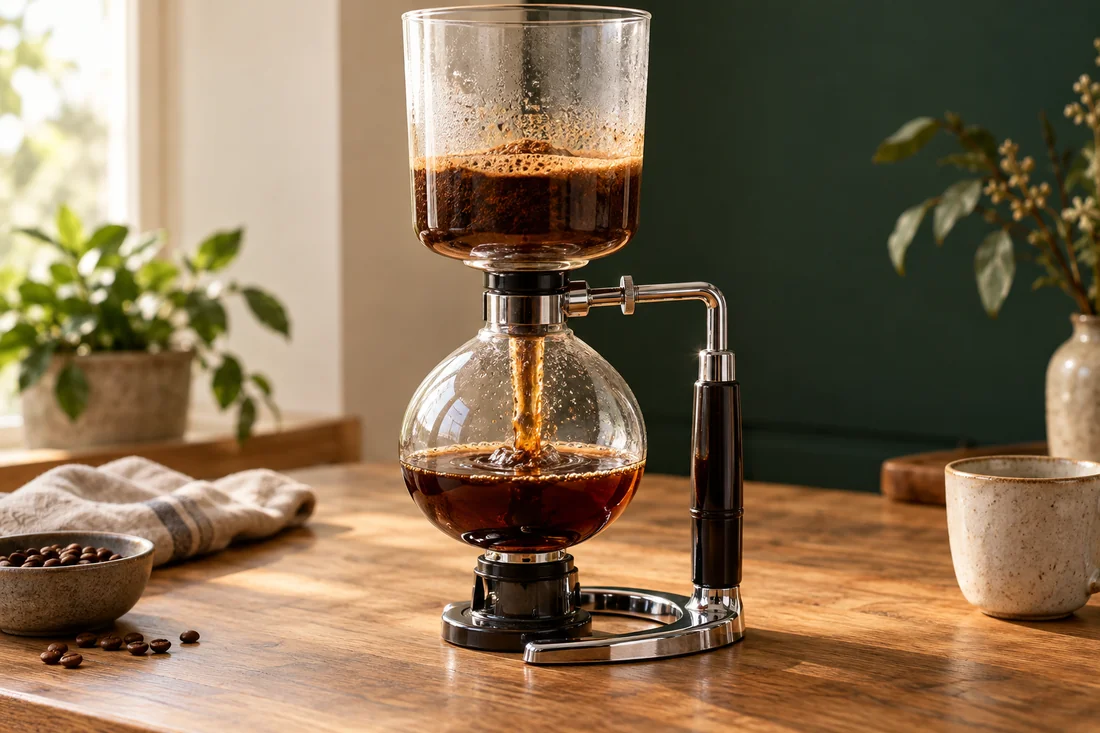
Steep above, flow back through the filter. A distinctive setup.
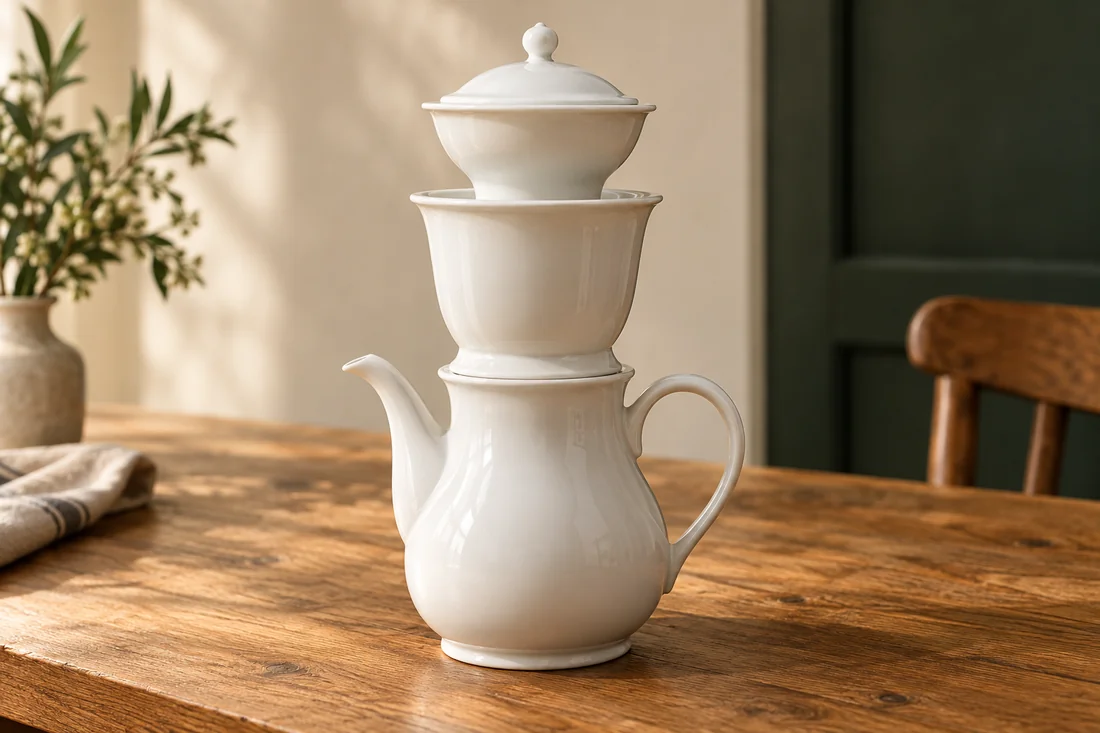
Brew through a porcelain sieve. Without paper, with coarse grounds.
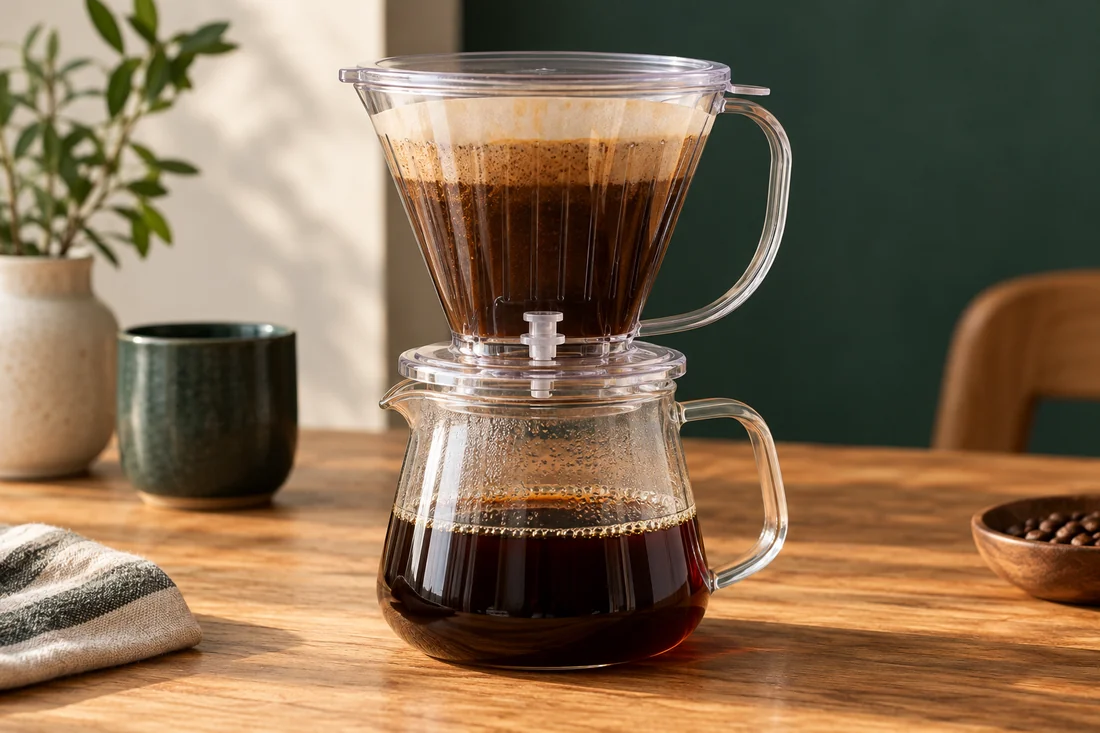
Steep with the valve closed first, then open the flow.
A small kit you know. Test it at home, enjoy it on the road.
Calculate a small portion and adjust the process to suit.
Plan cup size, equipment limits and batches. Serve with ease.
No matching guide found. Try another term or .
Knowledge you can taste in the cup
01 · Basics
Three things that help you understand your recipe and adjust it deliberately.
02 · Fine-tuning
Already made your espresso? Take a closer look: from basket to flavour.
Understand each move
Play each movement separately. Quantities and instructions stay visible; you set the pace.
Bloom water counts towards the total. These figures show one possible division.
Condensed illustration · 7 s per step, not actual brewing time
Insert the paper, rinse it with hot water and discard the rinse water. Place the filter and jug on the scales.
The rinse water does not belong in the finished coffee.
Hit 36 g. Start the virtual shot and stop it at your target.
Hands-on coffee knowledge
Four interactive infographics. Change one thing and discover what it does.
01 / Make quantities visible
Schematic illustration · the calculation is exact
Coffee + water
Filter coffee calculates water going in. Espresso usually calculates drink coming out. Change the method and see what the number means.
The quantity in the cup is smaller: coffee and filter retain water. Your equipment’s capacity limits the portion.
Understand brew ratios ↗02 / The small adjustment
Medium
Schematic particles · not a grinder scale
Explore grind size
Finer grounds offer more accessible surface area. They also change the resistance to water in the coffee bed.
Start with a medium grind. Compare a small change at the next brew, keeping coffee and water quantities the same.
These are broad guides. Bean, dose, filter and grinder all contribute. Fine is not automatically better; a number cannot be transferred between grinders.
Understand grind more precisely ↗03 / The pour in cross-section
Schematic · not a simulation of brewing time
Explore pour-over step by step
Tap through the process. The display distinguishes newly added water from the total quantity on the scales.
Insert the paper, rinse it with hot water and discard the rinse water. Place the filter and jug on the scales.
Rinsing water does not count towards the recipe.
04 / Strength is not extraction
Worked example · not a measurement of your coffee
A moment of discovery in the cup
Our example starts with 200 g of finished coffee and a calculated 3 g of dissolved substances. The grounds have already been removed.
The same 3 g are spread through more drink. No further substances are dissolved from coffee because no grounds remain.
This lets you check whether intensity is your main concern. The calculation does not predict which cup you will prefer.
Distinguishing strength and extraction ↗Does your cup taste different from expected?
Choose a problem. Change one thing. Taste again.
For reference & further learning
Choose a topic, search for a term or view short introductions.
A small turn changes contact area and water flow. The number on your grinder applies only to your appliance.
Read ↗A ratio makes recipes scalable. What matters is whether the calculation uses water going in or beverage coming out.
Read ↗Water dissolves components from the grounds. The amount and evenness of extraction explain more than brewing time alone.
Read ↗Water affects flavour and equipment. Hardness, alkalinity and suitability for the machine are separate questions.
Read ↗Brewing temperature and drinking temperature are two different things. Both affect what you perceive.
Read ↗Gas escapes from coffee when it is first wetted. An evenly wet bed matters more than bubble size.
Read ↗Coffee continues changing after roasting. Consider roast date, packaging and flavour together.
Read ↗Dry, tightly sealed and away from heat: a simple routine protects your beans day to day.
Read ↗Acidity and bitterness are tastes; dryness is a mouthfeel. A precise description makes troubleshooting easier.
Read ↗Start with fruity, nutty or roasty, then get more specific: describe aroma, intensity and mouthfeel in your own words.
Read ↗Strength means concentration; extraction means dissolving material from the grounds. A small dilution comparison helps separate the two questions.
Read ↗One specific question, two cups, one changed variable: find out which version you prefer to drink.
Read ↗Keep dose and drink yield fixed. A small grind adjustment then shows you what it actually does.
Read ↗Dose is dry coffee in the basket; drink weight is the weighed espresso in the cup. Together they define your brew ratio.
Read ↗A level, evenly distributed coffee bed gives the water better conditions. Extra tools are optional.
Read ↗Uneven flow can make an espresso taste both sharp and harsh. Check preparation before the next major grind adjustment.
Read ↗You do not have to win a strength contest. The aim is a level, compacted coffee bed.
Read ↗Before grinding finer, establish what bothers you and how your extraction actually runs.
Read ↗Bitterness can come from roasting, concentration, residue or brewing. A single explanation is rarely enough.
Read ↗Is intensity, aroma or mouthfeel missing? Separate these impressions, then check drink weight, flow and bean style.
Read ↗Crema is part of espresso. Learn what it reveals about the cup and why flavour has the final say.
Read ↗Dose, beverage weight, time and flavour: a few notes help you return to a good setting.
Read ↗Cold milk, controlled air and a steady whirlpool: the foundations of fine foam for creamy milk drinks.
Read ↗Plant drinks foam differently depending on their formulation. A small comparison helps you find the right texture.
Read ↗From the first white spot to a heart: milk texture, pouring height and a steady finishing stroke make the difference.
Read ↗More coffee flavour or more foam? Understand cappuccino and flat white and order to suit your taste.
Read ↗A double espresso, cold milk and plenty of ice: keep your iced latte balanced as the ice melts.
Read ↗Vanilla ice cream meets fresh espresso. A good affogato depends on balance and serving it at just the right moment.
Read ↗Coffee, tonic and ice make a bittersweet, sparkling drink. Build it carefully to keep the foam inside the glass.
Read ↗Espresso, a milk drink or over ice: decaf offers plenty of possibilities. Adjust the recipe for the beans you use.
Read ↗A coffee bean is a seed. Species, variety and origin help you make sense of the information on the bag.
Read ↗Selecting ripe fruit, sorting lots and drying carefully: quality develops through several stages of work.
Read ↗Washed, natural and honey describe how coffee fruit is processed. They explain one influence on flavour.
Read ↗Roasting is a process of heat and change over time. Colour alone gives an incomplete picture of the result.
Read ↗A country of origin is no guarantee of flavour. More detailed information and a thoughtful comparison help you find what you enjoy.
Read ↗Growing, processing, transport and storage are connected. Learn to read origin information across the supply chain.
Read ↗Caffeine is usually removed from green beans. Learn about the processes and how to interpret claims about them.
Read ↗One origin or a blend: the terms describe how a coffee is composed, while your taste guides the choice.
Read ↗Espresso or filter, a small serving or a crowd: these needs determine which grinder suits your routine.
Read ↗How much do you want to adjust yourself, and how much should the machine handle? Compare preparation, space and maintenance.
Read ↗Measured quantities and a controlled stream of water make recipes repeatable. Choose tools that fit the job.
Read ↗Paper, metal and cloth affect flow, mouthfeel and maintenance. Compare them using beans you know.
Read ↗Old grounds and coffee oils need regular removal. Your grinder’s manual explains which parts to clean and how.
Read ↗The basket, group head and steam wand each need suitable care. A clear routine keeps residues and cleaning products out of the cup.
Read ↗Before descaling, check the model, manual and water hardness. Then follow the correct dosage and complete every rinse.
Read ↗Which task should an accessory improve? That question helps you choose useful tools and keep your work surface clear.
Read ↗Who receives which price, and who performs which role? Specific details make trading claims understandable.
Read ↗Organic, Fairtrade and Rainforest Alliance focus on different things. Check what each label actually covers.
Read ↗A changing climate creates new challenges for coffee farming. Plant selection, farm management and economic options belong together.
Read ↗Use reusable cups, understand packaging and waste less coffee: small routines help reduce waste.
Read ↗Caffeine’s effects depend on dose, timing and individual sensitivity. Research provides context; a diary helps you observe your routine.
Read ↗What do safety assessments and studies tell us about coffee? A clear look without health promises.
Read ↗Fruity, less bitter, creamy or black: simple descriptions help you find an order that suits you.
Read ↗Taste each on its own, then together: find out whether a coffee and cake complement each other for you.
Read ↗A clear observation and a measured recipe make advice specific. Here is how to prepare a useful comparison.
Read ↗Doppio, microfoam, processing and yield: key terms for the menu, bag and recipe explained clearly.
Read ↗15 grams of coffee, 250 grams of water: a simple recipe for your first V-60 brew.
Read ↗Coffee and water steep together. Then separate the grounds with the filter — slowly and without forcing it.
Read ↗The Chemex combines a brewer and serving pot. Suitable paper, unobstructed airflow and gentle pouring are key.
Read ↗Place it upright on a stable cup, let the coffee steep and press gently: this gets you started without risky flipping manoeuvres.
Read ↗A filter machine takes care of pouring. Dose, grind size, water and care remain your most important decisions.
Read ↗Weigh the coffee and drink, keep preparation consistent and decide by taste. The clock helps; it does not judge.
Read ↗A moka pot needs the right fill level, suitable grounds and controlled heat. Tamping has no place here.
Read ↗Coffee dose, drink yield and grind size do different jobs. Here is how to adjust them in a sensible order.
Read ↗Combine coffee with cold water and steep it in the refrigerator: a manageable start with clean equipment.
Read ↗Part of the recipe water sits as ice in the jug. The hot coffee cools directly onto it.
Read ↗A pressure difference moves water through two glass chambers in a siphon brewer. Plan assembly, steeping time and safe drawdown.
Read ↗The porcelain method works without paper. Coarse grounds, clean filter openings and gentle pouring are key.
Read ↗A valve combines the calm of a steeping method with the clarity of a paper filter.
Read ↗Choose the method based on water, space and cleaning — rather than how many devices fit in your rucksack.
Read ↗Halving the quantity also changes the coffee bed. Find a recipe for exactly one cup.
Read ↗Calculate actual portions, brew suitable batches and keep the process simple.
Read ↗No articles match yet. Change your search term or reset the filters.
Calculate the amount of water, explore your taste or save articles for later.
Open tools ↓01 / Your brew calculator
For filter coffee: the ratio describes grams of coffee to grams of brewing water. A good starting point is 1:16.
For espresso, the drink in the cup is what counts instead. Find out more in the espresso guide.
02 / Your brewing timer
Watch how your brewing time changes. Taste decides; time helps with comparisons.
The timer runs in your browser. Keep an eye on hot water and your preparation.
03 / Understanding flavour
Choose the flavour. We will suggest a first attempt — not a rigid rule.
Note your recipe and change only one thing at first. That way, you understand what actually helped.
04 / Your learning moment
Your personal reading list
Saved articles stay only in this browser. You do not need an account.